


Key takeaways
You don’t need professional design skills to create sellable digital invitations - modern tools like Canva make it accessible.
A well-optimized Etsy listing with strong titles, tags, and mockups can help your invitations get found faster.
Creating realistic product images for a digital item is tricky, but smart staging and consistent branding helps.
Scaling your shop is easier when you can bulk-edit listings and schedule publishes instead of doing everything manually.
If you’ve ever received a beautifully designed party invite that felt like a curated event before it even started, you know the power of a good digital invitation. Now imagine turning that creative skill into a repeatable source of income. Clara, a former elementary school teacher, did exactly that. She started designing baby shower invites for friends on weekends and soon noticed strangers asking to buy her templates. But as her little shop grew, she hit a wall: the creation was fast, but everything that followed - retyping descriptions, tagging each new file, hunting for the right keywords - ate up whole evenings. The art was simple. The selling was the grind.
That grind is what stops many talented designers from ever selling more than a handful of items. If you’re ready to move past that frustration, this guide breaks down the full workflow: from picking your design tool, to standing out in a crowded market, to listing with SEO and finally managing your shop at scale. Along the way, you’ll see where a dedicated listing tool can take repetitive tasks off your plate.
What tools do you need to create digital invitations?
Before you list your first product, you need to decide where you’ll actually design the invitations. The tool you pick affects not just how fast you work, but the file quality customers expect and your ability to offer variants - like different color schemes or editable text fields. Beginners often start with free options like Canva. More experienced designers might lean toward professional software like Adobe InDesign, but cost and learning curve matter.
Why Canva is a strong starting point
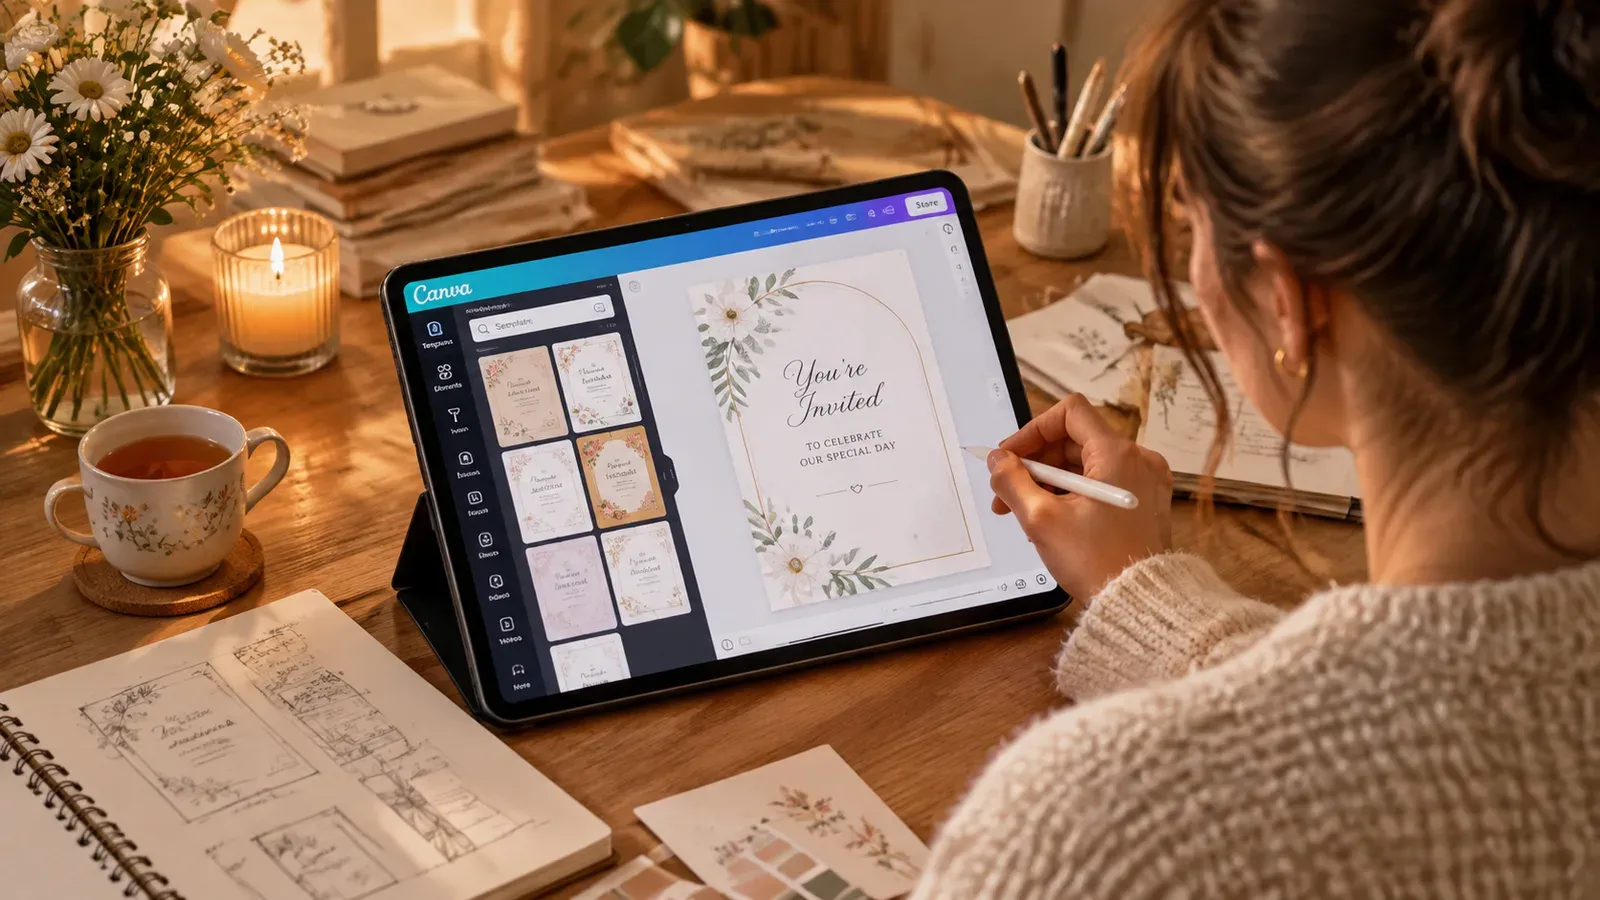
Canva’s free plan alone gives you access to thousands of templates, fonts, and design elements. Its drag-and-drop interface means you don’t need to understand layers or master vector paths. For a side-hustler like Clara, that meant she could design a 5x7 invitation in under 30 minutes, export it as a high-resolution PDF, and immediately prepare the next variation. Because it’s cloud-based, you can work from anywhere without worrying about losing files.
But here is where the hidden hassle creeps in. Once your design is ready, you typically download it, organize it on your hard drive, then upload it separately to Etsy when creating a new listing. That back-and-forth - design in Canva, save to desktop, open Etsy, upload again - breaks your flow and invites version-control chaos. You might accidentally reuse an old file or forget which folder holds the final version. With a few dozen designs, it becomes unmanageable.
⚠️ Always save your design as a print-ready PDF at 300 DPI with bleed marks if you’re offering versions that customers will print at home. Skipping this leads to customer service headaches later.
To remove that file-management friction, you can connect Canva directly to your design vault. The Canva Integration: Design Bridge lets you edit any artwork stored in Listybox’s My Artworks panel directly inside Canva, and any Canva design you complete can be sent back to your Listybox gallery with one click. That means you never lose a master file and you can go from design to listing without rummaging through folders. For sellers building a large catalog, this alone can save dozens of repetitive upload sessions.
Other design tools to consider
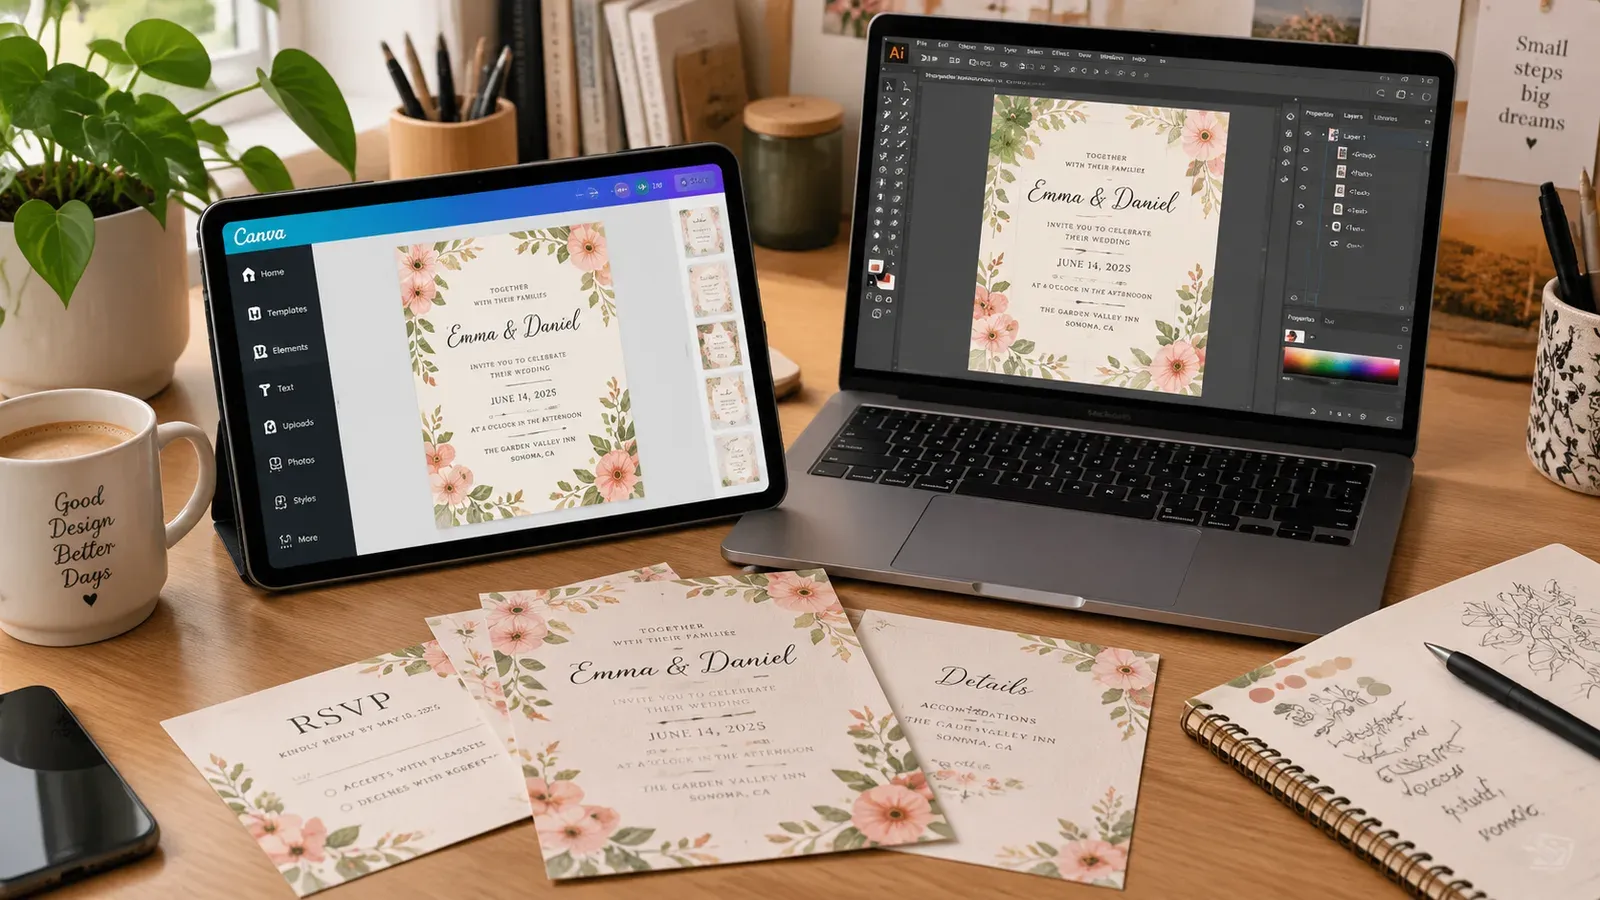
If you need more advanced control, Adobe Illustrator and InDesign offer finer typography and seamless layered files. They come with a steeper subscription price, but if you’re already trained in them, the flexibility may be worth it. The same file organization challenge applies - you’ll want a system. Some designers use cloud storage folders with strict naming conventions, but that still requires manual effort each time you create a listing.
Regardless of tool, the lesson is the same: designing is only half the job. How you move from design to listed product determines how quickly you can grow. In the next section, we’ll focus on making those designs marketable.
How to design invitations that sell
A beautiful invitation isn’t necessarily one that sells. Many designers mistake personal taste for market demand. Clara’s early mistake was designing invites she liked - vintage botanical themes - and wondering why the numbers stayed flat. Once she started emulating what was already moving in her niche (wedding subscription boxes and boho baby showers), her views climbed.
Start with research, not inspiration boards
Before you open your design tool, spend 30 minutes on Etsy searching for “digital invitation wedding,” “birthday invitation editable,” or any niche you want to enter. Take notes on colors, font pairings, and the motifs that appear over and over. You’re looking for patterns, not copying. If you see watercolor florals on dozens of bestsellers, that’s a signal. If script fonts always accompany minimalist layouts, there’s a reason.
You can validate what’s climbing right now without manual scrolling by using a trend monitor. Listybox’s Trend Compass scans thousands of sources to flag emerging styles before they saturate the market - though it’s primarily built for print-on-demand designs, the visual themes often overlap with event stationery trends. For a pure digital seller, staying close to Etsy’s own bestseller lists and Pinterest trends remains essential.
Design for usability, not just prettiness
Customers buying a digital invitation typically want to edit it themselves - add their names, change the date, maybe tweak a color. That means your file must support easy editing. A static JPEG might look perfect, but a customer who can’t personalize it will ask for a refund. Successful sellers offer editable PDFs or Canva template links. In your product description, clearly state what they can edit and how.
Make sure your design works at the intended print size. A 5x7 inch file that isn’t proportioned correctly will frustrate a buyer trying to print on standard paper. Supply trimming guidelines or a separate instruction sheet as part of the download. Those small details build trust and reduce negative reviews.
💡 Include a short video in your listing showing exactly how the buyer can edit the invitation. Even a 20-second screen recording reduces confusion and returns dramatically.
Create variants without starting from scratch
This is where a design system pays off. Instead of designing one invite at a time, create a base layout and then iterate: swap the color scheme, change the typeface, add or remove an illustration. You can turn one core design into five separate listings. The challenge then becomes managing all those versions without duplicating effort. Later in the article we’ll cover how to handle bulk listing creation so you’re not copying and pasting tags for each variant.
Understanding what sells is step one. But even a perfect design gets buried if no one can find it. That’s why the next few hundred words focus entirely on Etsy search visibility.
How to optimize digital invitation listings for Etsy search
The Etsy search engine’s job is to match buyer queries with relevant listings. If you treat SEO as an afterthought, your shop becomes invisible. The good news: for digital products, you get more room to maneuver. Unlike physical items where size and material attributes dominate, digital invitations allow you to go deep on theme, event type, and style keywords.
The title is your most important real estate
Etsy reads your title from left to right, looking for the strongest keyword match. Start with the primary phrase a buyer would type - “Editable Boho Baby Shower Invitation” rather than “Cute Elephant Design.” Include the event, the style, and the key feature (“editable,” “instant download,” “printable”). Avoid stuffing: “Editable Boho Baby Shower Invitation, Eucalyptus Greenery, Girls Birthday, Printable, Instant Download” is concise enough, but you could refine it by moving “Instant Download” to the end since the algorithm still indexes all words.
Writing titles manually for 50 variations of a single design can feel like punishment. That’s the sort of repetitive task a seller should offload. Listybox’s Magic Wand analyzes your product and design combination, then generates a title line that stacks high-intent terms in the order Etsy prefers. You review and tweak - you keep full control - but you skip the blank-page paralysis. For Clara, what used to take 10 minutes per listing now takes a quick review, leaving her energy for actual design work.
Tags are your silent sales team
Etsy gives you 13 tag slots, each holding a short phrase. Many sellers fill these with vague words like “invite,” “cute,” or “print.” Instead, use multi-word phrases: “boho baby shower,” “eucalyptus invite,” “instant download,” “editable template.” Think like a buyer who isn’t sure of the exact term. If they type “floral birthday invitation editable,” you want multiple tags to feed that phrase.
Building a tag set for every design manually is error-prone. It’s easy to duplicate a tag or waste a slot on a single word. The Magic Wand can produce a full set of 13 tags per listing, pulled from real search terms, that you can review and adjust. This feature alone helps ensure your newest product doesn’t limp out of the gate with zero discovery.
Your listing attributes also matter: choose the right “Occasion” and “Holiday” categories when Etsy offers them. Many digital invitation sellers overlook these dropdowns, but they’re a direct signal to the algorithm.
An optimized listing still needs compelling visuals. But a digital product can’t be photographed on a model. That’s the unique challenge we tackle next.
How to create product images for digital downloads
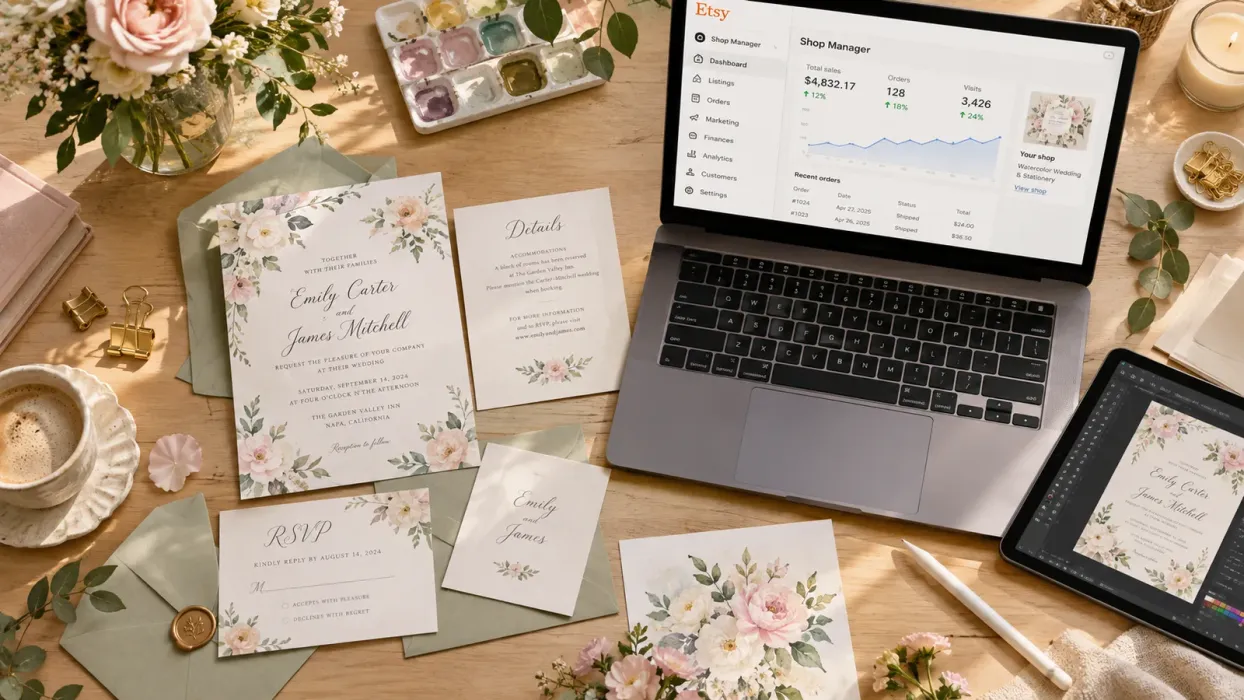
With a physical t-shirt, you can lay it flat, shoot it on a mannequin, or use lifestyle mockups. A digital invitation exists only on a screen. If you just upload a flat JPEG of the design, the buyer can’t visualize what they’re getting. They need to see it in use - on a phone, in a frame, maybe next to a pen on a desk - to understand scale and real-world appeal.
Build a “scene” around your invitation
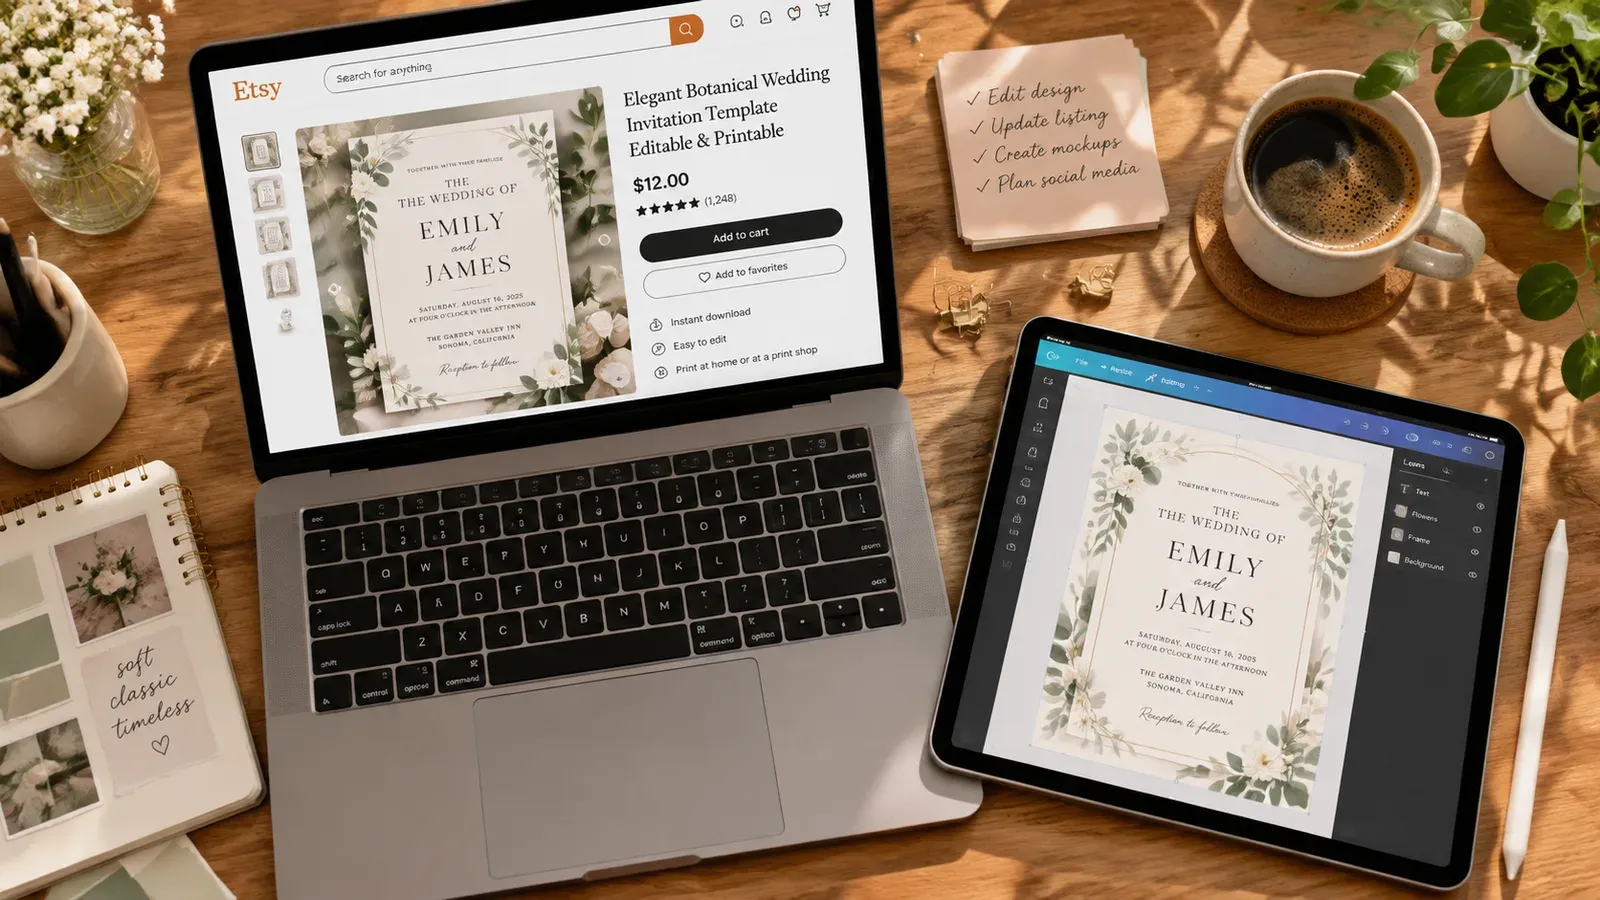
The easiest professional-looking method is to use a device mockup. Hundreds of free and paid templates exist where you can drop your design into a smartphone or tablet screen, surrounded by props like flowers, coffee cups, or ribbons that match the theme. These scenes communicate “this is an heirloom moment, not just a file.” Consistent backgrounds across all your listings build brand recognition.
💡 Use the same background color or prop set for all listings in the same collection. It subtly trains repeat visitors to recognize your style.
You don’t need advanced photo editing. Placement Editor and Background Remover help when you’re working with design elements that need custom placement or when you want to isolate a graphic before dropping it onto a mockup. The Background Remover, available in My Artworks, strips away the background of any uploaded design with a click, so you can layer your invitation graphic onto a screen mockup seamlessly.
Show the editing process visually
One of the biggest objections buyers have with digital templates is fear of complexity. “Will I be able to edit this?” A product image that shows the Canva interface with the invitation opened in it answers that objection in minutes. Snap a screenshot of the template open in the editor. Circle or highlight the text fields with a soft overlay. This kind of functional image does more to sell than five more “pretty” pictures.
If you’re looking for more guidance on staging and composition, read Etsy Product Photography: Shoot Products That Sell. The principles of lighting and layout apply regardless of whether the final product is digital or physical.
When you have dozens of designs that all need mockup images, the manual process again becomes a grind. One approach is to batch-create your images: design the scene once as a template, then swap the screen image for each new invitation. This is faster but still repetitive. Tools that let you store and edit your artwork in one place speed this up because you can drag a fresh design onto a saved mockup without leaving your workspace.
Now that your designs look great and are findable, it’s time to shift from making one-off sales to building a consistent shop.
How to scale your digital invitation business
Growth for a digital-product shop doesn’t mean working more hours; it means making each new listing cost less time than the last. That’s not about “going viral” or getting lucky. It’s about setting up systems that let you publish and maintain hundreds of invitations without burning out.
The manual trap of listing creation
The first few designs feel light. You open Etsy, fill in the form, paste your title, list your tags, upload five images, and hit publish. By design twenty, the thrill is gone. You’re copying and pasting tags, manually typing “instant download” into every description, and checking that the category is correct. Mistakes creep in. A tag gets omitted. An image loads out of order. Your brain checks out, and your shop quality declines.
⚠️ Copying an existing listing’s tags wholesale for a new product can confuse Etsy’s algorithm and may group similar items together, hurting visibility of each individual listing.
A better approach is to use a listing tool that treats your designs and products as modular components. Creation Wizard lets you pair a design with a “product” template - essentially a preconfigured listing setup - and then generate the full listing draft in one flow. You still review each one, but you’re not rebuilding from scratch. For digital invitations, you could create a base template that already includes your shop policies, the “editable template” attribute, and common tags. Then when you finish a new design, you drop it into the Creation Wizard, adjust the title with Magic Wand, and publish.
Publish consistently without babysitting
Etsy’s algorithm rewards shops that add new items regularly. But nobody wants to log in at 8 a.m. every morning just to hit “Publish.” Scheduled Publish solves that. After creating a batch of listings - say 15 new invitation variations - you can set them to go live one by one at intervals you pick, like every 12 hours. This keeps your shop looking active and gives each new listing its own moment of visibility, rather than flooding the algorithm with a sudden drop.
I used this approach when setting up a seasonal Valentine’s Day invitation collection. With 20 designs ready, I scheduled them to drip out over 10 days. Each listing had breathing room, and I could monitor performance without the pressure of daily posting.
Keep old listings healthy
Etsy penalizes listings with outdated or irrelevant tags, but going back through 100 products to change one tag is a task most sellers avoid. Bulk Edit (Bulk Editing: Time Machine) changes that. Select the listings you want to update, pick the field - like tags or description - and apply the change across all of them in minutes. If you notice that “wedding invitation suite” is now a higher-performing keyword than “wedding invitation set,” you can swap it in for every relevant listing before you finish your coffee.
Scaling isn’t about working harder. It’s about turning what you already know into a repeatable process. And the less time you spend on clicks and copy-paste, the more you can invest in original designs that buyers can’t find anywhere else.
If you’ve followed along, you now have a roadmap from opening your design tool to running a shop that grows on autopilot. The last step is just to begin. Listybox’s free plan gives you access to Magic Wand for SEO copy, Creation Wizard for fast listing assembly, Scheduled Publish for smart release timing, and Bulk Edit for maintenance - all without entering a credit card. Start free - no credit card required and turn your next invitation design into a listed product today.
Listybox
Create listings 10x faster with Listybox.
Frequently asked questions
Put this into practice in your shop.
Every step from design to live listing, on one platform. Start on the free plan.
Related posts
Want to go deeper? Read our in-depth Etsy guides · Browse 100 Etsy niche guides