


Key takeaways
Understand why mockups matter more than raw product photos for Etsy buyers.
See the common manual mockup workflow that slows down new and growing sellers.
Learn which Listybox features help you create, adjust, and finalize mockups faster.
Keep editing and final control with the seller while reducing repetitive work.
Build a repeatable mockup process without inventing measured outcomes.
Find practical steps for backgrounds, placements, videos, and bulk updates.
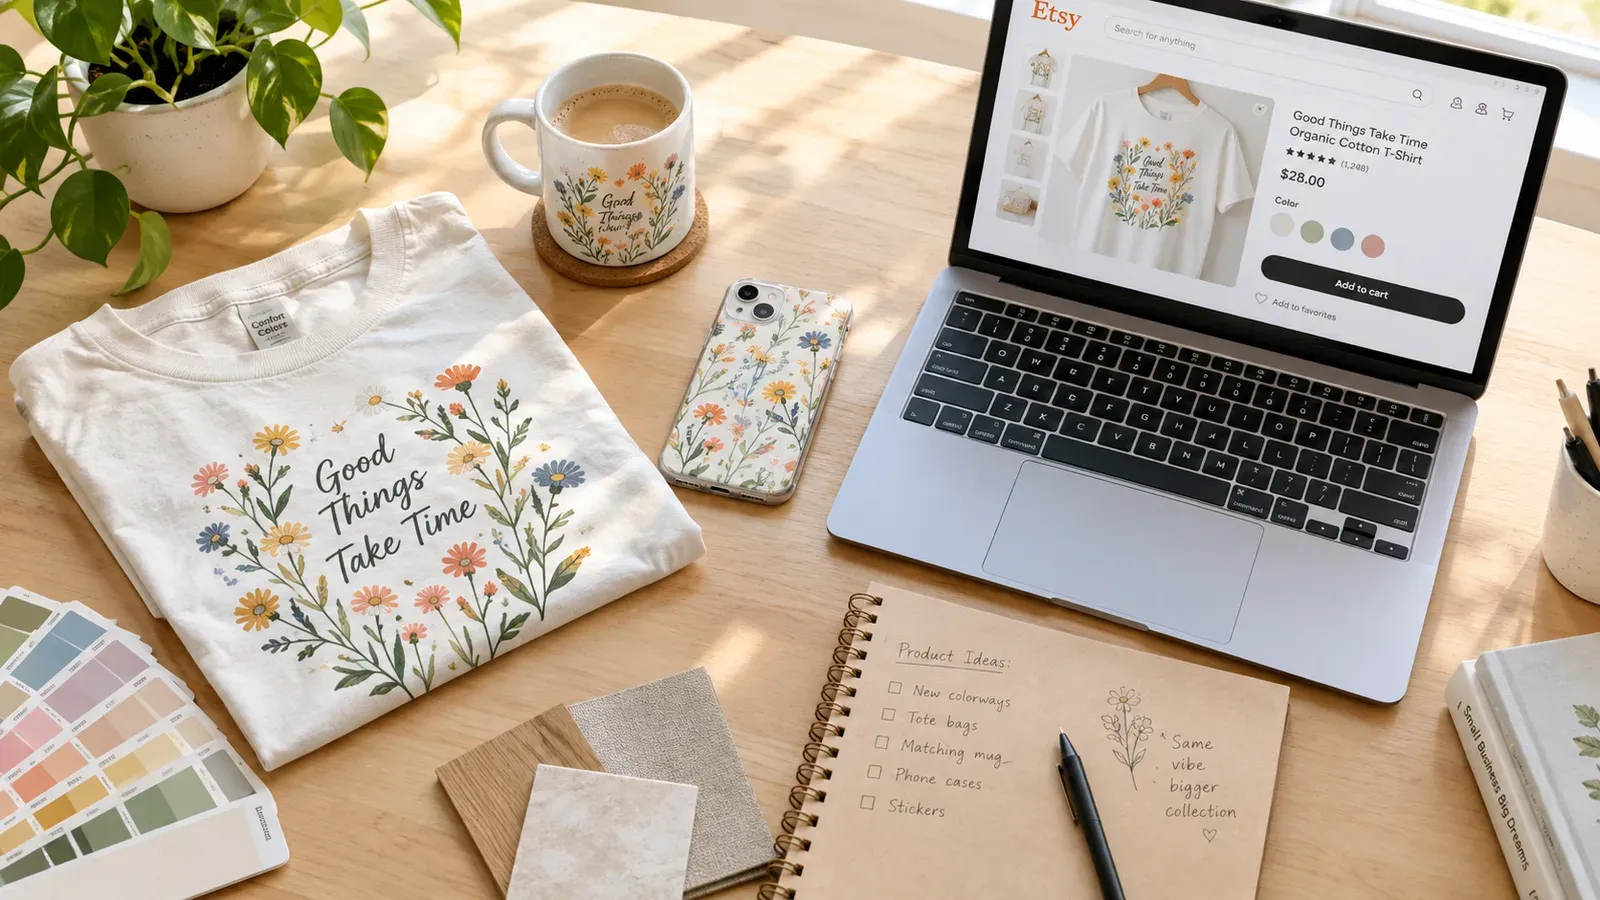
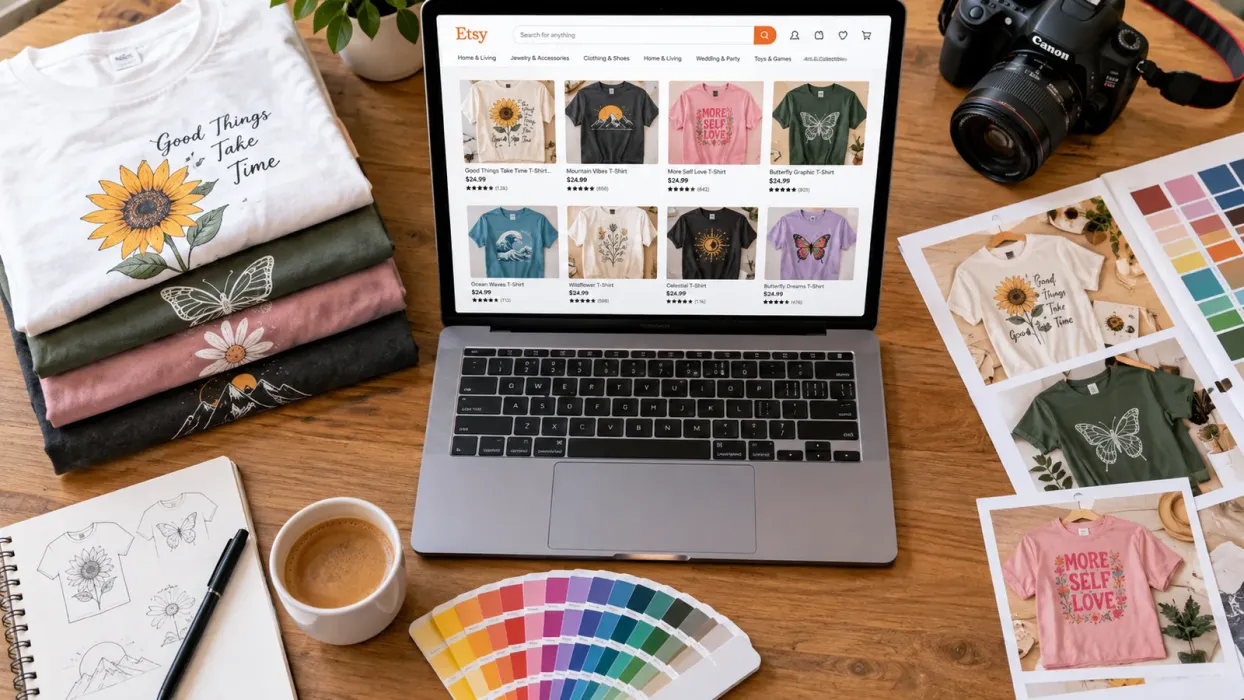
Etsy buyers decide with their eyes long before they read your description. A shirt on a plain white background can look unfinished, while the same design placed in a believable scene can help a shopper imagine owning it. That is why mockup creation is one of the most important tasks in a print-on-demand shop.
For many sellers, the problem is not the idea. The problem is the time and repetition. You need a mockup for a mug, a hoodie, a canvas, and a tote. Then you need a variation for every color. Then you need to check that the design is not stretched, cut off, or awkwardly placed. The work piles up quickly.
This guide walks through a practical Etsy mockup creation process. You will see where the manual approach breaks down, what to watch for, and how Listybox features can help you move faster without turning the work over to a black box.
Why Etsy Mockup Creation Matters for Print-on-Demand Sellers
A mockup is not just a pretty picture. It is a communication tool. It tells a buyer what the product looks like in real life, how large the design appears, and whether the item fits a specific style.
When you sell print-on-demand items, you usually do not have a physical sample in your hand. The mockup becomes the closest thing to a product photo. If the mockup looks blurry, stretched, or generic, the buyer may assume the finished product will look the same way.
The Difference Between a Raw Design and a Selling Mockup
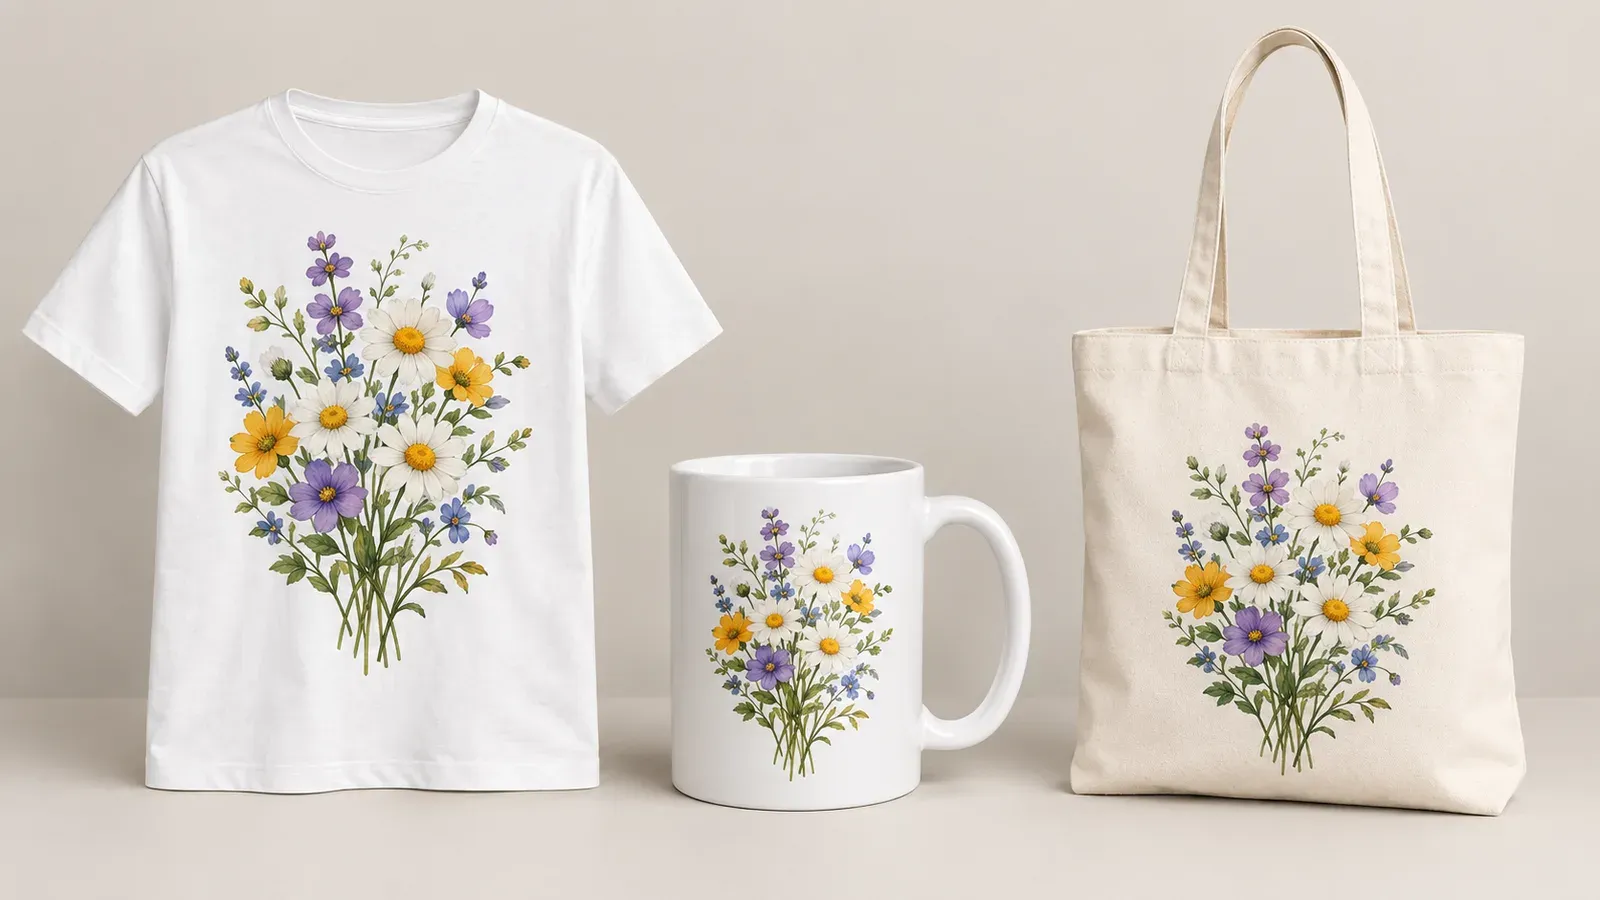
A raw design file shows your artwork in isolation. A selling mockup shows the artwork on a product, in context, from a useful angle. Buyers rarely purchase a design file alone. They purchase the promise of a finished item.
A strong mockup should answer three questions quickly:
What is the product?
Where does the design sit on the product?
How will it look in a realistic setting?
If a shopper has to squint or guess, you have already made the purchase harder than it needs to be.
How Buyers Use Mockups Before They Click Buy
Shoppers scan images before they read titles. They compare thumbnails across search results. A clear mockup can help your listing feel more trustworthy and easier to understand.
This does not mean you need an expensive photo studio. It means you need consistency. When all of your listings use clean, well-lit mockups, your shop begins to feel like a real brand rather than a collection of random files.
What Is the Manual Mockup Creation Process?
Most sellers start with a familiar workflow. They download a free mockup template, open a design tool, place the artwork, adjust the size, export the file, and upload it to Etsy. Then they repeat the process for the next product.
This works for a handful of listings. It becomes painful when you want to launch dozens of products or test new designs across multiple items.
The Typical Steps That Eat Up a Seller’s Time
A manual mockup process often looks like this:
Find a mockup template for the correct product type.
Open the design file and import the artwork.
Resize and reposition the design to fit the template.
Export the finished image in the right format.
Upload the image to the Etsy listing.
Repeat for every color, product, and design variation.
None of these steps is difficult by itself. The difficulty comes from doing them hundreds of times.
Where Repetition Starts to Hurt Your Shop
Repetition creates two problems. First, it consumes time that could go toward product research or customer service. Second, it invites mistakes. A seller who rushes through fifty mockups may miss a crooked placement or a low-resolution image.
For a growing brand, this is the hidden trap. You do not notice the cost of one mockup. You notice the cost of fifty mockups done by hand, week after week.
⚠️ Check your mockup resolution before publishing. An image that looks fine on a small preview can appear blurry when Etsy displays it larger.
How to Create Clear Mockups Without Losing Control
The goal is not to remove the seller from the process. The goal is to remove the repetitive parts while keeping the decisions in your hands. Listybox features are built around this idea.
You can start with a design, apply it to products, review the result, and make changes before anything goes live. This keeps your judgment at the center of the work.
Using Listystyle for Lifestyle Product Images
Listystyle analyzes your design and target audience, then places your product into realistic scenes. You choose the quantity and start the process, then review the generated lifestyle photos.
This is useful when you want to show a mug in a cozy kitchen or a shirt in an outdoor setting. Instead of sourcing dozens of separate templates, you can generate a set of consistent scenes from one design.
The seller still decides which images to keep. You can discard anything that feels off-brand or unrealistic. For more on how visuals affect buyer behavior, see our guide on The Visual Edge: How Product Mockups Boost Etsy Sales Conversion.
Adjusting Placement with the Placement Editor
Placement is one of the most common mockup mistakes. A design that looks centered on a flat file may sit too high or too low on an actual product.
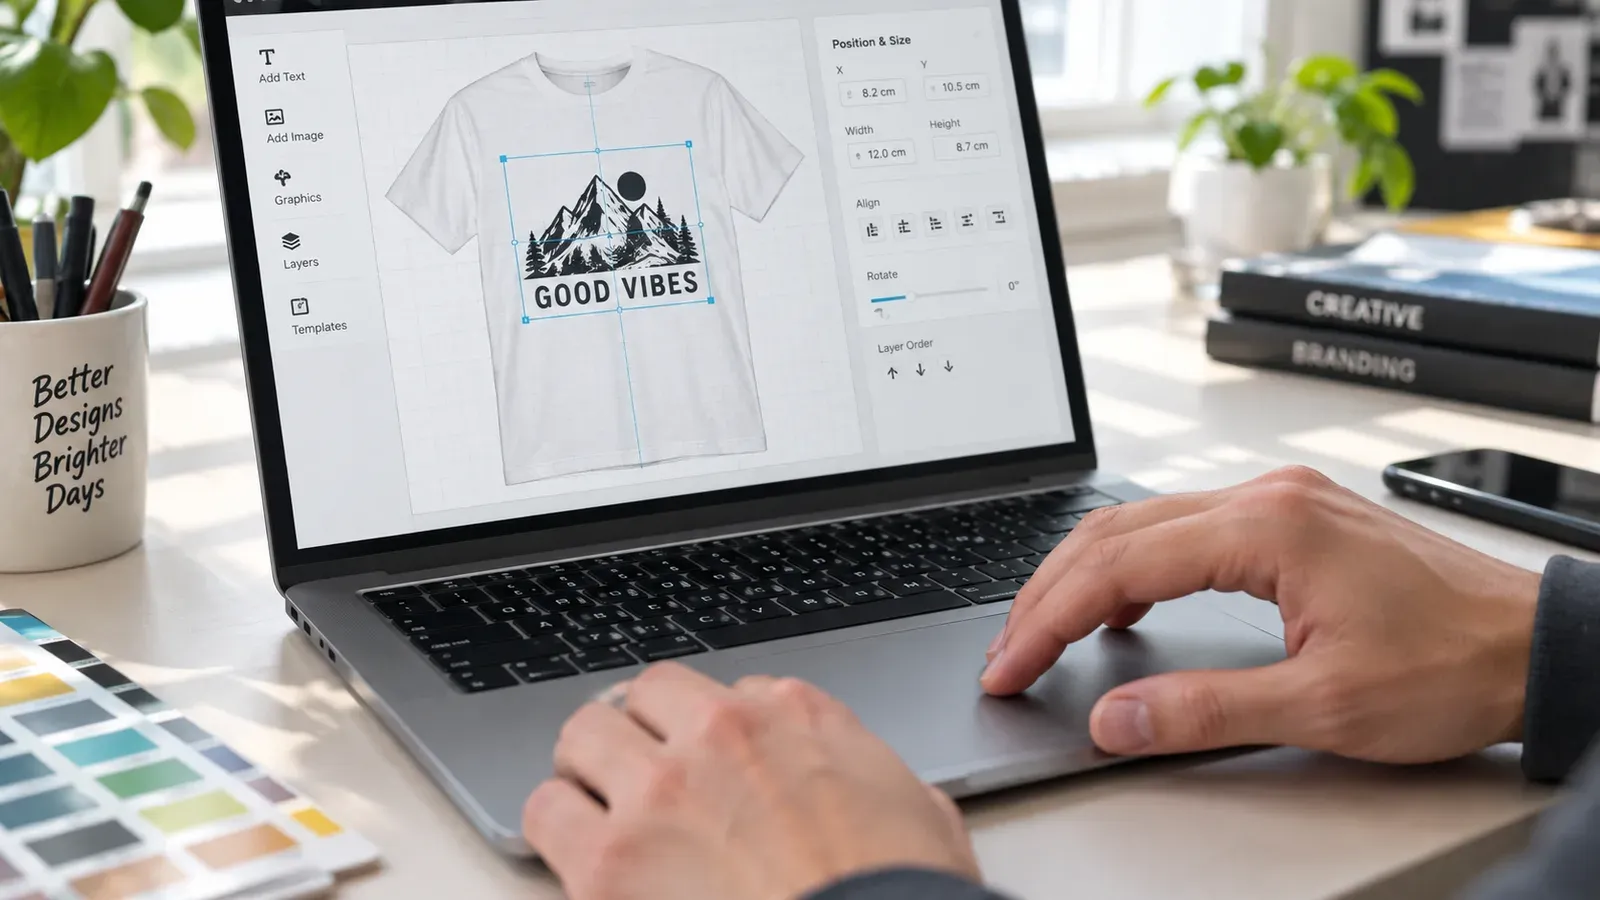
The Placement Editor gives you a preview where you can drag, resize, or use preset placement modes. You can also apply a custom placement to other selected creations with one click.
This helps you maintain consistency across a product line without manually adjusting every single image.
How to Handle Backgrounds and Product Variety
Backgrounds change how a product feels. A white background reads clean and catalog-like. A lifestyle background adds warmth and context. The right choice depends on your brand and the product.
Removing Backgrounds from Your Own Artwork
If you upload your own designs, you may need to remove a background before placing the artwork on a product. The Background Remover in My Artworks creates a transparent version of your design and saves it next to the original at no extra charge.
This is helpful when your source file has a solid color behind the artwork. Instead of rebuilding the file in another tool, you can create the transparent version directly in your workflow.
Showing Multiple Products with Combo Listing
Some designs work across several product types. A buyer may want the same artwork on a t-shirt, a hoodie, or a canvas.
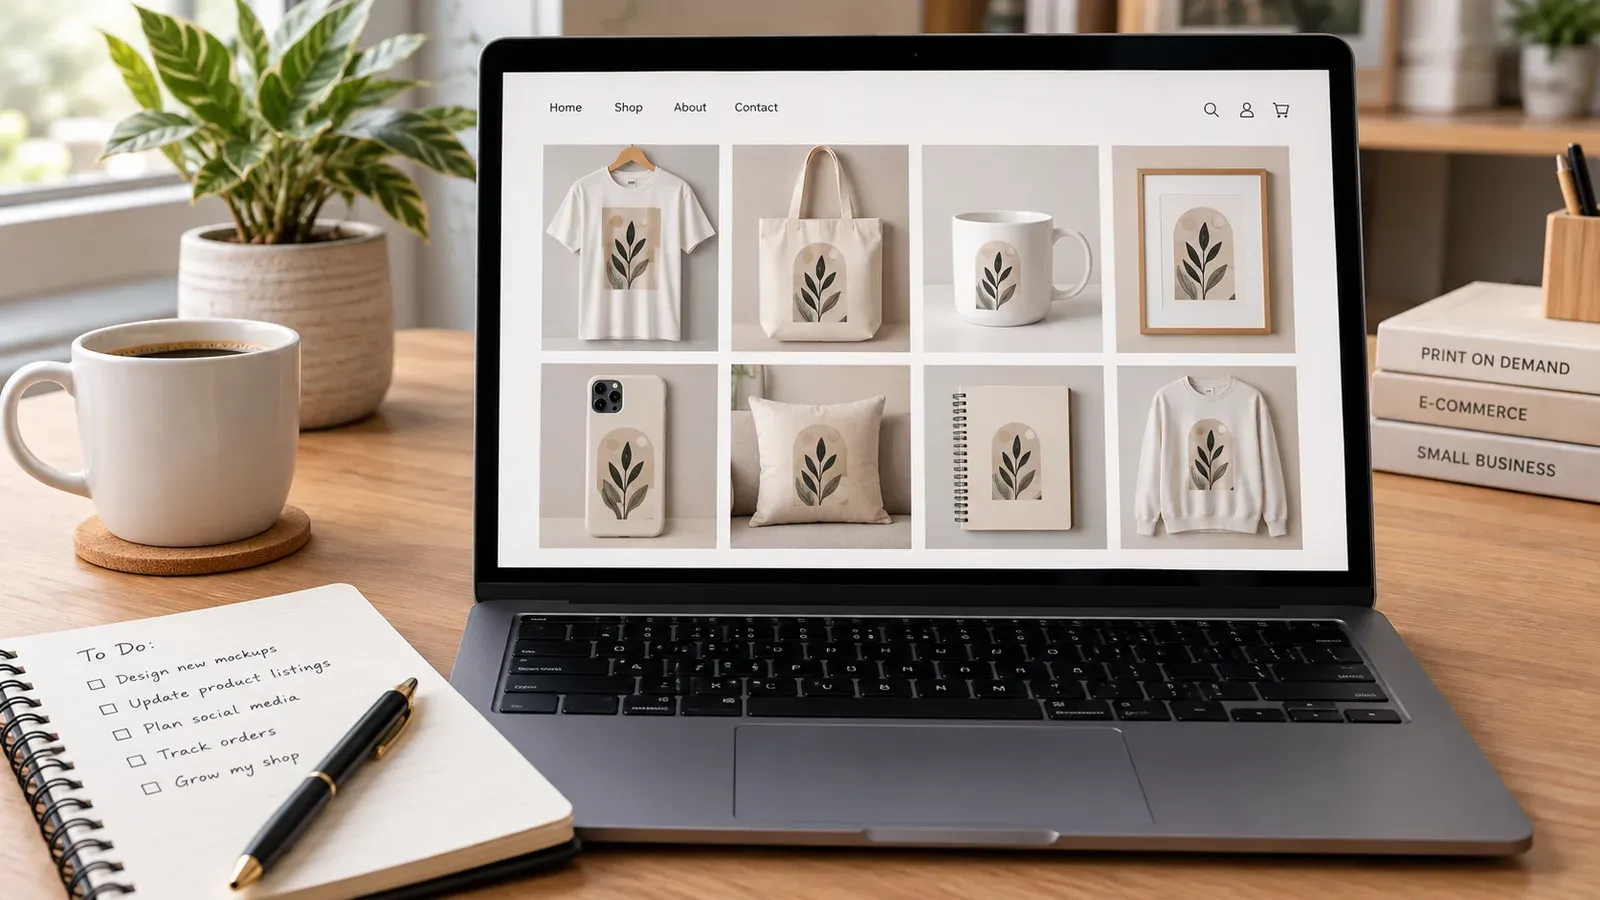
Combo Listing combines multiple products into one Etsy listing. When a buyer selects a product type from the variation menu, the product images update automatically to show that item.
This reduces the number of separate mockup sets you need to manage while giving buyers a clear view of each option.
💡 Keep your mockup style consistent across listings. Similar lighting, angles, and backgrounds help your shop feel more professional and easier to browse.
How to Speed Up Mockup Creation for Many Products
When you move from a few listings to a larger catalog, speed matters. The challenge is to speed up the work without losing quality or control.
Combining Designs and Products with Creation Wizard
Creation Wizard is a central space where you bring together designs and products. You can pull designs from My Artworks or Artwork Gallery and combine them with products from the catalog.
With one click, you can combine multiple designs with multiple products. This creates ready-to-review creations with variants and mockups in minutes.
You still review each result before publishing. The tool handles the repetitive assembly while you handle the final decisions.
Preparing Your Own Designs in My Artworks
My Artworks is a cloud-based design vault where you can upload up to 5,000 of your own designs in bulk. After upload, each visual is analyzed and enriched with relevant SEO keywords, preparing them for bulk listing.
This matters because mockup creation is only part of the listing workflow. If your designs are already organized and tagged, the next steps become faster.
For a broader look at the listing process, read Your First Etsy Listing with Listybox: A Step-by-Step Guide.
How to Add Video Mockups to Your Etsy Listings
Static images are important, but video can show texture, movement, and scale in a way that photos cannot. Etsy listings that include video can give buyers a richer preview.
Creating Product Videos with Listystyle Video
Listystyle Video turns your product images into a professional-style video. You select a listing, click to create the video, and then upload it directly to Etsy or download it.
This is a practical way to add motion without filming your own footage. You can use the video to show a product rotating, a lifestyle scene, or a quick visual tour of the design.
The seller reviews the video before publishing. You are not handing over the final say.
When Video Makes the Most Sense
Video tends to help when the product has texture or when the design wraps around the item. A mug with artwork on both sides, for example, can be hard to understand from a single flat image.
A short video can show the full surface and help the buyer understand what they are getting.
How to Keep Your Mockups Consistent Across a Growing Shop
Consistency is hard to maintain when you are moving fast. One listing may use a bright outdoor scene while another uses a dark studio background. Over time, the shop can start to feel scattered.
Building a Simple Mockup Review Checklist
A short checklist can keep your visuals on track. Before you publish a listing, review these points:
Is the design fully visible and correctly placed?
Is the image sharp at the size Etsy will display?
Does the background match your shop’s overall style?
Does the mockup show the correct product and color?
Is the file format and aspect ratio appropriate?
This takes a few seconds per listing but prevents costly rework later.
Editing Many Listings at Once with Bulk Edit
Sometimes you need to change the same detail across many listings. Maybe you want to update a title, description, or tag after a product change.
Bulk Edit lets you select the listings, choose the field to change, and apply an add, change, or remove action. The changes become active in minutes.
This is useful when a mockup update requires a matching text change across your catalog.
How to Avoid Common Mockup Mistakes
Even experienced sellers make visual mistakes. The good news is that most of them are easy to spot if you know what to look for.
Mistake One: Low-Resolution Images
A design that looks crisp on your phone may look blurry on a desktop. Always check the image at a larger size before publishing.
If your source design is low resolution, no mockup template will fix it. Start with the best file you can and export carefully.
Mistake Two: Misleading Product Colors
A mockup should match the available product color as closely as possible. If the image shows a soft cream shirt but the buyer receives a bright white one, they may be disappointed.
Review the color name and image together before you publish.
Mistake Three: Ignoring the Thumbnail
Etsy search results show small thumbnails. A busy scene may look confusing at that size. Check how your main image reads when it is small.
A simple, clear main image often works better than a detailed scene for the first thumbnail.
⚠️ Do not use a mockup that implies a feature your product does not have. For example, do not show a shirt on a model if the print size or placement differs from the actual product.
How to Organize Your Mockup Workflow Step by Step
A repeatable workflow reduces stress and helps you launch more consistently. Here is a practical order you can follow.
Step One: Prepare Your Design Files
Upload your designs to a central location. Remove backgrounds where needed and confirm that each file is clean and high resolution.
Step Two: Choose Your Products
Decide which products fit the design. Consider whether a single Combo Listing makes sense or whether separate listings are better.
Step Three: Generate and Review Mockups
Use Listystyle for lifestyle scenes and the Placement Editor for precise positioning. Review every image before moving on.
Step Four: Finalize Text and Publish
Match your titles, tags, and descriptions to the final images. Use Bulk Edit for any last-minute changes across multiple listings.
For more on optimizing the text side of your listing, read Etsy Listing SEO Optimization: Your Step-by-Step Guide to Visibility and Sales.
What Should You Do If You Are Just Starting Out?
If you have not opened your Etsy shop yet, the mockup question can feel premature. But it is worth planning your visuals before you list your first products.
A new seller often tries to do everything at once: set up the store, pick products, write listings, and create mockups. That is a lot to manage alone.
Getting Help with Your First Store
Does all of this feel overwhelming? You don’t have to start from scratch. With Listybox Store Setup, our expert team sets up your Etsy store, lists your first 10 products, and optimizes everything for SEO. See the pricing page for what this service covers and what it costs.
Learning the Platform Before You Scale
Once your store is live, you can explore the mockup tools at your own pace. Start with a small batch of designs and review the results carefully. As you get comfortable, you can expand to more products and more variations.
For help choosing a plan that fits your stage, see Listybox Pricing Plans: Free vs. Paid Comparison for Etsy Sellers.
How to Think About Mockup Quality Without Overpromising
It is tempting to chase perfect images before you launch anything. But waiting for perfection can become its own form of procrastination.
A better approach is to aim for clear, consistent, and honest mockups. You can always update an image later if you find a better scene or a stronger placement.
Review, Adjust, and Improve Over Time
Your mockup style can evolve as your brand grows. The important thing is to keep the seller in control of every final decision.
Listybox features are designed to reduce the repetitive work while leaving the judgment to you. You choose the designs, review the images, and decide what goes live.
Start with a Small, Manageable Batch
Pick three to five designs and a handful of products. Run them through the mockup workflow and study the results. This gives you a feel for the tools without committing to a huge catalog all at once.
Once you are comfortable, you can scale up with Creation Wizard and Bulk Edit.
A Practical Path Forward for Your Etsy Mockups
Etsy mockup creation does not have to be the slowest part of your shop. By separating the creative decisions from the repetitive assembly, you can produce clear visuals without spending hours on every listing.
The key is to keep control in your hands. Use tools that prepare options for you, then review and refine each result before publishing.
If you want to see how this works in practice, start free - no credit card required and explore the mockup features with your own designs.
For a wider view of the print-on-demand opportunity, read How to Make Money Online: The Realistic 2026 Path with Etsy Print on Demand.
Listybox
Create listings 10x faster with Listybox.
Frequently asked questions
Put this into practice in your shop.
Every step from design to live listing, on one platform. Start on the free plan.
Related posts
Want to go deeper? Read our in-depth Etsy guides · Browse 100 Etsy niche guides