


Key takeaways
A receipt banner gives buyers a clear next step, which reduces repeat questions about their order.
Write one banner structure you can reuse, then adapt the wording for each product type.
Use Bulk Edit to update many listings at once instead of editing each one by hand.
Check Etsy’s current shop and policy pages before you change any buyer-facing message.
Keep final wording under your control and review every banner before it goes live.
Imagine Ethan, a marketer who started testing Etsy as a side project to see whether print-on-demand products could bring in a second income. He has a handful of designs, a growing list of mugs, tees and posters, and one goal for the next month: make his shop feel organized and trustworthy so buyers know exactly what happens after they purchase. The first thing he notices is how many buyers write in asking the same questions about production time, shipping and what to expect from their order.
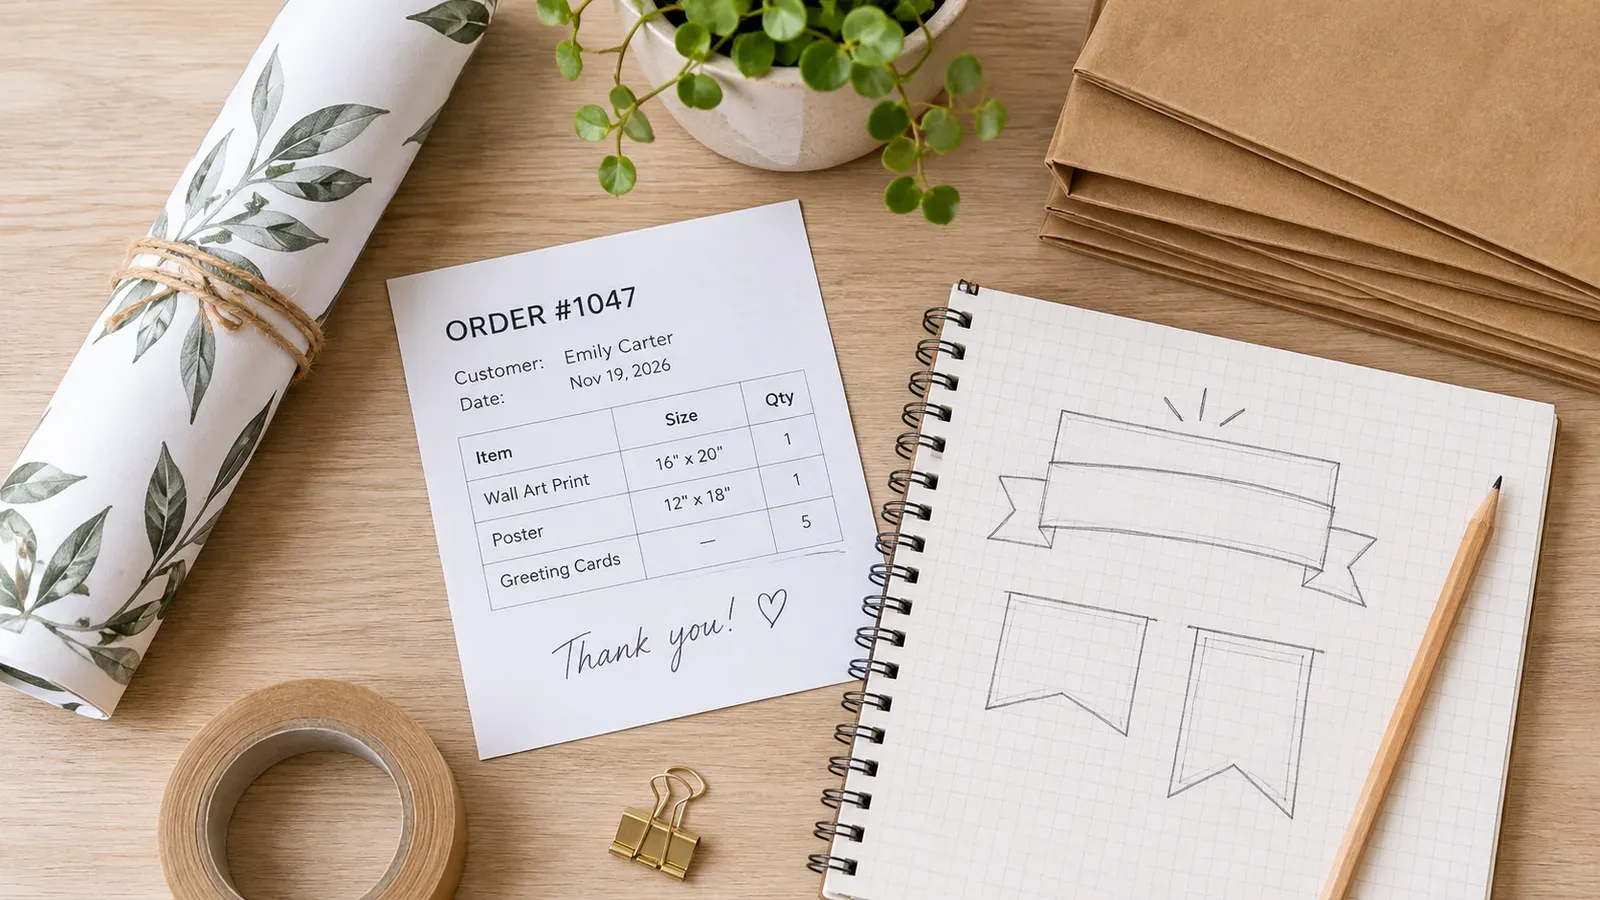
Ethan’s answer to those questions is an order receipt banner. A receipt banner is the short message buyers see after checkout, and it is a practical place to explain the next steps in plain language. Done well, it reduces confusion. Done poorly, it becomes one more block of text nobody reads.
What an Etsy order receipt banner example looks like
An order receipt banner example is simply a model you can adapt. It is not a template you copy word for word, because your products, production process and policies will differ from another seller’s. The goal is to answer the questions buyers ask most often, in the order they are likely to wonder about them.
A useful banner usually covers four things: a warm thank-you line, what the buyer should expect next, roughly where to find updates, and how to reach the shop if something is wrong. Keep the whole message short. Two or three sentences per point is enough for most shops.
A simple structure you can reuse
Start with one sentence that thanks the buyer and confirms the item is being prepared for them. Next, add one sentence on production, saying that each item is made to order and naming the typical handling window you actually use. Then explain how tracking updates will reach them. Finish with a line inviting questions through your shop messages.
Write this structure once in a plain document so you can paste it into each listing. Change only the details that really differ, such as product type or handling time. This keeps your messages consistent across the shop, which buyers notice even if they cannot name why.
Adjusting the message for different products
A mug and a framed poster may share a structure, but their production notes can differ. Mention specific details only when they matter to the buyer, such as a size note for a canvas or a care note for a printed tee. Avoid vague claims that you cannot back up, and do not promise delivery dates your shop cannot reliably meet.
💡 Read your banner out loud. If a sentence would feel confusing to a buyer who has never heard of your shop, rewrite it in simpler words.
Try your first design.
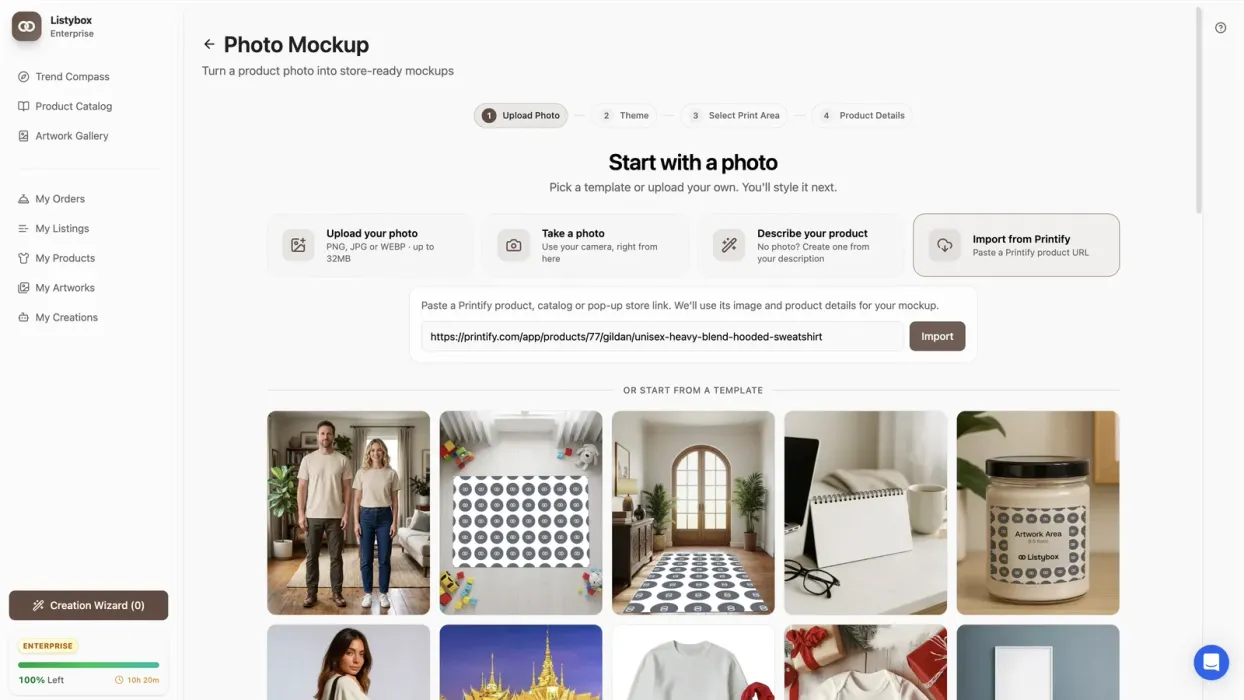
Try your design on a product and prepare its Etsy listing in Listybox.
The hidden trap of writing every banner by hand
The manual approach looks harmless at first. Ethan writes one banner for his first mug listing, copies it into the next, and tweaks a few words. Within a few weeks he has dozens of listings, and each one has a slightly different version. Some still mention an old handling window. Others use a policy wording he has since changed. When a buyer compares two of his listings, the inconsistency makes the shop look less careful than it actually is.
The trap is that every small edit multiplies. Changing one sentence means opening each listing, finding the right field, updating it and checking that nothing else broke. That work grows with every new design, and it is easy to skip, which is exactly when mistakes creep in.
There is also the question of accuracy. Etsy’s rules, fees and shop policies can change, and a banner that was correct last quarter may now describe something outdated. Before you update any buyer-facing message, check the current shop and platform rules directly. You can find the fee and policy information on Etsy’s own pages, and you should look at the costs that apply to your shop before you assume a number from an older article. For a practical starting point on fees, you can read our guide on How Much Does Etsy Take From Sellers? The 2026 Fee Breakdown and then confirm the details yourself.
Etsy charges a $0.20 USD fee for listing an item for sale. Taxes may also apply.
Etsy charges a $0.20 USD fee for listing an item for sale. Taxes may also apply.
Use that listing fee as a reminder to check the current fee page before you set your budget, rather than relying on any figure you saw elsewhere.
Solving the problem with Listybox
This is where a workspace built for running the shop helps. Listybox is the one place where an Etsy seller can manage products, write and publish listings, edit many listings at once and schedule publishing. Etsy is the marketplace where your shop lives, but Listybox is where you do the work around it.
The Bulk Edit feature lets you select the listings you want to change, choose the field you need to update, such as the description, and then add, replace or remove text across all of them. Instead of opening each listing one by one, you make the change once and review the results. That matters a lot when a policy wording or handling note changes and every listing needs to match.
For writing the listing text around your banner, Magic Wand can draft titles, tags and descriptions for each creation, which you then edit to fit your own voice and your real production details. You remain responsible for the final wording, so review every line before publishing.
If you want new designs to reach your shop on a steady schedule, Scheduled Publish lets you set an interval, such as one listing every six hours or one per day, and Listybox publishes them in that order. Because the banner text is part of each listing, a consistent template makes scheduled publishing easier to trust.
Practical steps to build your own banner
Follow these steps to create a banner you can reuse and update without rework.
First, list the five questions buyers ask most often. Common ones include how long production takes, how tracking works, what to do if an item arrives damaged and how to reach the shop. Second, write short, plain answers to each question, using only details you can actually deliver. Third, combine those answers into one banner structure, then keep it in a single document so you always start from the same version. Fourth, open your Bulk Edit workflow in Listybox, select the listings that share the same product type, and apply the banner text to them. Fifth, review a sample of the updated listings on Etsy to confirm the text appears correctly.
Repeat this check whenever your handling time, shipping method or policies change. A quick review every few weeks keeps the banner accurate and prevents the drift that makes a shop look careless.
⚠️ Do not promise delivery dates, refund outcomes or sales results in your banner unless you can truly guarantee them. Check Etsy’s current shop policies before writing any promise.
Keeping control of your shop’s messages
Listybox speeds up the mechanical part of the work, but the decisions stay with you. You choose the tone, the handling window and every policy statement that buyers will read. When a tool drafts text for you, read it as a first draft and edit it until it matches what your shop can actually do.
It also helps to use the same wording across related products, so a buyer who orders a mug and then a tee sees the same reassuring structure. Consistency builds trust in a way that clever phrasing does not.
For more on the rest of the listing, you might read our guide on Etsy Listing SEO Optimization: Your Step-by-Step Guide to Visibility and Sales, which covers how titles, tags and descriptions work together. If you are still choosing which products to offer, our article on Print on Demand Hoodies: Your Etsy Profit Guide for 2026 walks through product-specific considerations.
Real-world workflow for a small shop
Think about how Ethan’s week might look after he sets up his banner. On Monday he updates his shared handling note in a single document. On Tuesday he selects his mug listings in Bulk Edit and applies the new wording. On Wednesday he reviews three listings on Etsy to confirm the changes appear correctly. On Thursday he schedules his next batch of designs so they publish at a steady pace. Nothing in this routine requires guessing, and each step is something Ethan can check.
The result is not a promise of sales. It is a shop that answers its buyers’ most common questions clearly and stays consistent as it grows. That consistency is the real benefit: buyers spend less time wondering and more time deciding to order.
Start with a clear banner, then keep it current
An order receipt banner is a small piece of your shop with a large job. It explains what happens after purchase, reduces repeat questions and signals that a real person is managing the shop. Write one structure you trust, check the current Etsy rules and fees before you change it, and use a workspace that lets you update many listings without repetitive editing.
If you want to try this workflow on your own listings, you can Start free - no credit card required and review how Bulk Edit and Magic Wand fit into your routine.
Listybox
Listybox keeps your Etsy shop work in one place. Create products, publish listings, edit them in bulk and pass print-on-demand orders to production.
Frequently asked questions
Put this into practice in your shop.
Every step from design to live listing, on one platform. Start on the free plan.
Related posts


Want to go deeper? Read our in-depth Etsy guides · Browse 100 Etsy niche guides