



Key takeaways
Selling online for free is rarely fully free, so check listing fees, transaction fees, taxes, and payment costs before you start.
Read the current marketplace fee and policy pages directly, because rules change and blog figures can go stale.
Plan a small first batch of products so you can test your process without a large upfront commitment.
Use Magic Wand, Creation Wizard, and Bulk Edit to create and update listings in minutes rather than hours, while you keep final control of every listing.
Treat listing quality, photos, and clear descriptions as the core of your shop, not a shortcut.
Many people search for ways to start selling products online for free because they want to test an idea without risking money. That goal is reasonable. The catch is that “free” often describes only the first step, while costs appear later in listing fees, transaction fees, shipping, taxes, and the hours you spend building each listing by hand. This article walks through a realistic way to start, shows you how to check the costs yourself, and explains where a tool like Listybox can save time without making decisions for you.
Why “Free” Rarely Means Zero Cost
When people say they want to sell products online for free, they usually mean they do not want a large upfront purchase. That is a sensible instinct. However, selling through an online marketplace almost always involves some fees, and the structure of those fees can change over time. Some marketplaces charge a per-listing fee, some take a percentage of each sale, and some add payment processing or regional taxes on top.
The safest approach is to read the current fee schedule of the platform you plan to use. Do not rely on a blog post, a forum comment, or an old screenshot to tell you what you will pay. Platform pricing and seller rules can change, and the only reliable source is the official page.
Before you list anything, write down every cost category you can find: listing fees, sale or transaction fees, payment processing, currency conversion, taxes that may apply in your country or your buyer’s country, and any packaging or shipping costs if you handle fulfillment yourself. Once you have that list, you can decide whether your first test is realistic for your budget.
How to Check Costs Before You Start
Follow these steps before you publish your first product:
Open the official fee page for the marketplace you plan to use and copy every fee type into a simple spreadsheet.
Check whether taxes apply to you as a seller and whether the platform collects them on your behalf in your region.
Look up the current rules for digital products, print-on-demand items, and any refund or return policies that apply to your product type.
Confirm the payout schedule and any minimum balance rules so you know when money becomes available.
Save the date you checked each page, because you will want to re-check before you scale up.
This small research step takes less time than most people expect, and it prevents the frustrating situation of building a shop only to discover that a cost you never considered wipes out your margin.
💡 Keep a dated copy of every fee and policy page you check. Platform rules change, and a dated record helps you spot when something has changed.
Try it in your shop.
Every step from design to live listing, on one platform. Start on the free plan.
Choosing a Product You Can Test Without Overcommitting
A free-start strategy works best when your first test is small. Choose one product category you understand well and create only a handful of listings. This lets you learn how your photos, titles, and descriptions perform before you invest time in a large catalog.
Print-on-demand is a common model for this kind of testing because you do not have to buy stock in advance. Your product is produced only after an order comes in. That does not remove costs, since you still pay listing and transaction fees and you need to set prices that cover production and shipping, but it does reduce the risk of unsold inventory sitting in a garage.
If you want a broader view of product ideas before you commit, you can read our guide on How to Make Money Online in 2026: A Realistic Path to Passive Income. It covers the general landscape so you can compare options before you pick one.
Testing Your Design Before You Publish
Before you publish, check whether your design works on the products you plan to sell. Look at the placement on each product type, check colors on a light and dark background, and make sure any text is readable at thumbnail size. Many new sellers skip this step and then wonder why their listings get little attention.
Make sure your artwork is original or that you have the rights to use it. Read the marketplace’s intellectual property rules carefully, because a listing removed for infringement wastes both your fees and your time.
The Manual Grind of Building Listings from Scratch
Imagine Ava, an illustrator who hand-draws botanical patterns and wants to put them on tote bags, mugs, and wall prints. Her goal is simple: create a small shop of twenty products within a month, see which designs sell, and then grow from there. She reads about free-start options, opens her laptop, and begins.
Her first problem is the mockups. She places each design on each product manually in an image editor, exports the files, and renames them. Then she writes a title, a description, and a list of tags for every single listing. Each title needs to make sense to a buyer and also fit the search habits of people who use the marketplace. By the time she has three products finished, the evening is gone.
Ava’s second problem is consistency. When she rewrites a description for the mug listing, she realizes the tote bag listing still has an old keyword. When she changes her shipping profile, she has to open every listing and update it one by one. Small mistakes pile up, and each correction takes more time she does not have.
Her third problem is motivation. A slow, error-prone process makes it hard to publish enough products to learn anything. She starts to wonder whether free selling is simply a trap that eats weekends.
This is the situation many new sellers face. The struggle is not a sign that they lack talent or that the idea is bad. It is a sign that manual listing does not scale, even when the platform itself has low barriers to entry.
The Hidden Trap: Small Repetitive Tasks Add Up
The hidden trap in a free-start plan is repetition. Each individual task looks small: resize an image, paste a description, pick tags, set a price, choose a shipping profile. Multiply those tasks by twenty or fifty products, and they become the main job. Worse, the more you repeat them by hand, the more likely you are to introduce errors that hurt your shop’s search visibility and buyer trust.
Seasonal updates create the same problem. If you want to refresh titles for a holiday or change a price across a whole category, you may have to open every listing separately. Many sellers also forget to update old listings when their policies or processing times change, which can lead to buyer confusion.
The trap is not that selling is hard. The trap is that a process designed for one listing gets stretched across many listings without any system to keep them organized.
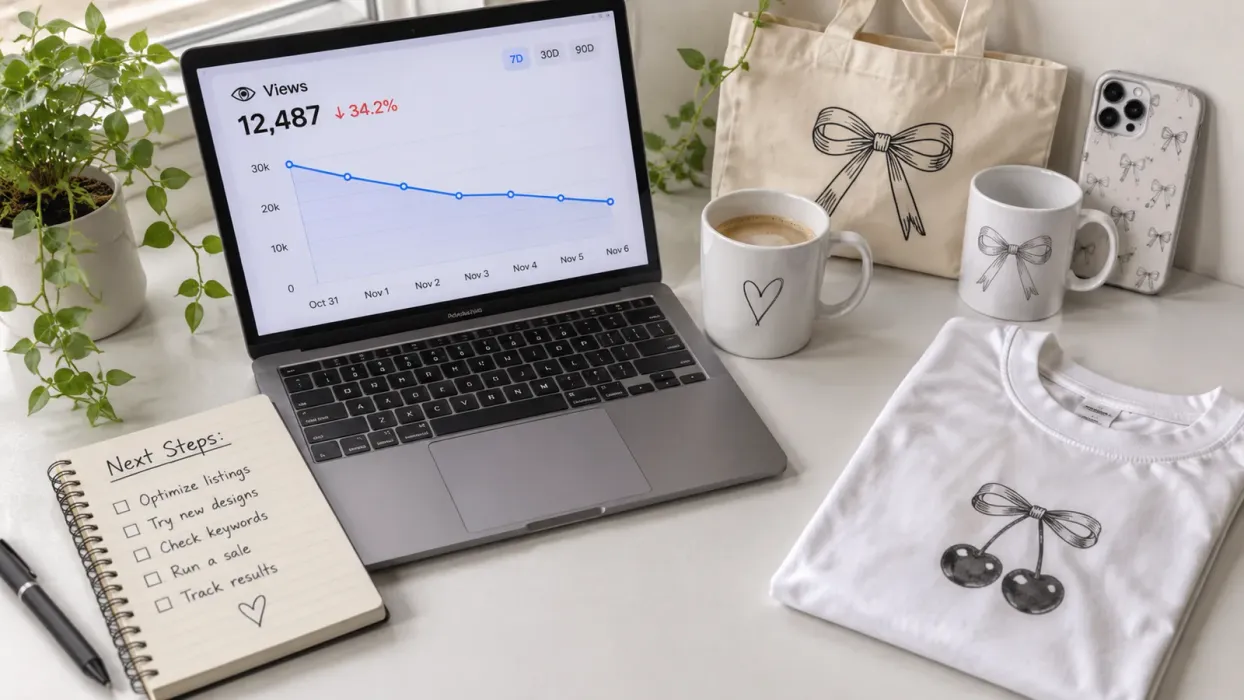
⚠️ Do not assume a product will sell just because it is listed. Plan how you will track views, favorites, and orders, and review your listings regularly.
The Listybox Approach: Create, Review, and Control
Listybox is one workspace where an Etsy seller can run the shop. It helps with creating products, writing and publishing listings, editing many listings at once, scheduling publication, and print-on-demand fulfillment. You keep final control of every listing, and nothing goes live without your review.
Here is how Ava’s workflow could look with the supplied features:
Organize designs first. She uploads her artwork to My Artworks, where she can keep her designs in one central place before creating any listings.
Build products in batches. With Creation Wizard, she gathers designs and product types in one area and creates many creations in minutes. She can review the previews, adjust placements with Placement Editor, and then decide which products to keep.
Write listing text with a starting draft. Magic Wand can draft SEO-oriented titles, tags, and descriptions for each creation. Ava reads every draft, edits the wording to match her voice, and removes anything that does not fit her shop.
Improve visuals when you need them. Background Remover can create a transparent version of a design, and Listystyle can generate lifestyle images for her review. She chooses which images to use.
Update many listings at once. When she needs to change a tag or description across several listings, Bulk Edit lets her select the listings, pick the field, and apply an add, replace, or remove action. She can check the changes before they go live.
Schedule publishing. Scheduled Publish spreads her new listings across a time window she chooses, so she does not have to publish everything at once.
Notice what these steps do not do. Listybox does not decide your prices, choose your niche, or confirm that a design will sell. Ava still sets her pricing based on the fees she checked, she still picks her products, and she still reviews every line of text. The tool removes repetitive work so her time goes toward the decisions that matter.
What Ava’s Workflow Looks Like in Practice
Ava begins by checking the current fee and policy pages for the marketplace she plans to use, and she saves the dates. She then picks three designs and two product types for her first test, so she is not spreading herself thin. She uploads the artwork, creates her creations, and reviews each preview. She edits the Magic Wand drafts, adjusts her product descriptions to reflect her actual materials, and sets a publishing schedule.
Once the listings are live, she tracks which ones receive views and orders. If she wants to change a tag across the shop, she uses Bulk Edit instead of opening each listing. She keeps notes on what she learns so her next batch is stronger.
This is a workflow, not a promise. Ava’s results will depend on her designs, her pricing, her audience, and the market at the time she publishes. Listybox helps her move through the steps faster and with less repetition, but the outcome still depends on her choices.
Common Mistakes to Avoid When Starting Out
Even with good tools, new sellers make predictable errors. Here are the most common ones to watch for:
Skipping the fee check. Publishing before you know your costs can leave you with a product you cannot sell at a profit. Check the official pages first.
Copying other shops’ descriptions. Original, accurate descriptions are better for buyers and better for your standing with the marketplace.
Listing too much at once. A small, reviewed batch teaches you more than a large batch you cannot monitor.
Ignoring product quality. Test prints, check color accuracy, and confirm sizing before you rely on a production partner.
Forgetting to update policies. Shipping times, processing times, and return terms should match what you actually offer.
Assuming a rule never changes. Marketplace policies can change. Re-check the official pages on a regular schedule.
Building Your Own Checklist
A practical checklist helps you stay consistent. Before each new batch, confirm the current fees, check your design rights, review your product mockups, read your listing copy, verify your shipping and processing settings, and schedule your publication. After publishing, review sales and views weekly and note which listings need changes.
If you want more detail on how search visibility works for print-on-demand products, read our guide on Etsy Search Engine Optimization: A 2026 Guide for Print-on-Demand Sellers. It explains how titles, tags, and descriptions work together, which helps you judge the drafts any tool produces.
Frequently Asked Questions About Starting Without a Big Budget
Starting a shop with minimal money is possible, but it works best when you plan each cost and keep your first test small. You can learn a great deal from a handful of listings before you commit to a larger catalog. Use the steps in this guide to check fees, choose a focused product line, and keep your process organized from the first day.
Whatever tools you use, remember that the decisions are yours. Review every listing, confirm every policy, and adjust your plan as you learn what your buyers respond to.
Does all of this feel overwhelming? You don’t have to start from scratch. With Listybox Store Setup, our team helps you set up your Etsy store. It is available inside a custom Enterprise+ offer, so plan a demo or write to support@listybox.com.
If you are ready to try the workflow yourself, you can start Listybox now. The free plan lets you explore the workspace at your own pace.
Start free - no credit card required
Etsy charges a $0.20 USD fee for listing an item for sale. Taxes may also apply.
Listybox
Listybox keeps your Etsy shop work in one place. Create products, publish listings, edit them in bulk and pass print-on-demand orders to production.
Frequently asked questions
Put this into practice in your shop.
Every step from design to live listing, on one platform. Start on the free plan.
Related posts
Want to go deeper? Read our in-depth Etsy guides · Browse 100 Etsy niche guides