


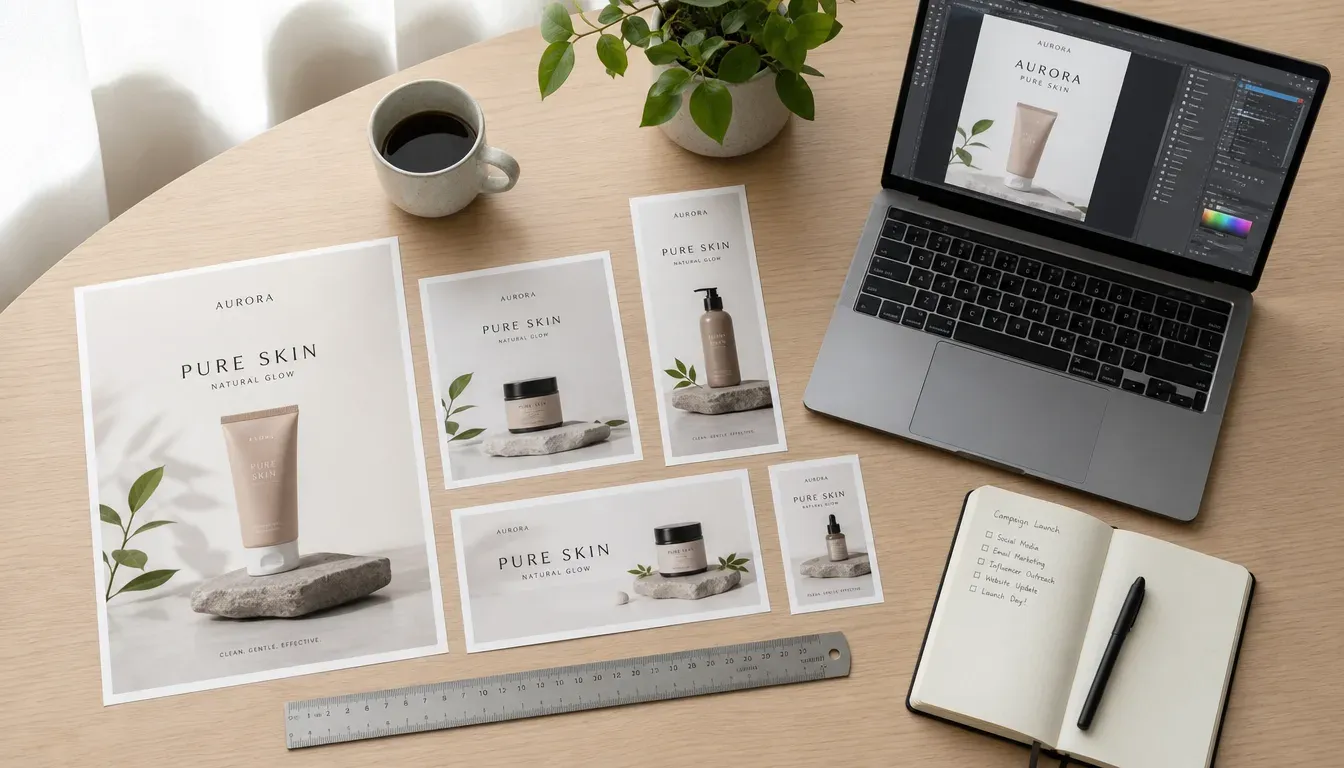
Key takeaways
Check the current image size and aspect ratio guidance in Etsy’s seller help center before you export a single file, because requirements can change.
Set one master canvas for each product type so every mockup crops the same way across your shop.
Keep your design files and mockups in one organized library so you resize and reuse them instead of rebuilding each listing from scratch.
Use bulk editing to update image-related details across many listings at once, then review each change yourself.
Schedule publishing in batches so your shop stays active without you clicking through every listing by hand.
Meet Noah. He spent his first year of online selling buying bundles of products from a dropshipping supplier, paying for inventory he could not return, and watching his margins disappear into shipping delays. When he moved to print on demand on Etsy, he hoped the hard part was over. Instead, he found a different grind: every new design needed a set of product photos, and every set needed to be resized, cropped, and saved in the right format before he could upload it. His goal was simple. He wanted a repeatable image process that produced clean, consistent listing photos without spending his evenings in an editing program.
The problem is that image size is one of those details that looks minor until it costs you time. A single t-shirt listing might need a main photo, several lifestyle shots, a close-up of the print, and a size chart. Multiply that by dozens of designs and you are managing hundreds of files. Noah tried to keep track in a spreadsheet, but mismatched names, slightly different crops, and outdated mockups crept in. Shoppers notice when one listing looks sharper or more polished than the rest of your shop, and that inconsistency makes the whole store feel less trustworthy.
Why Image Size Matters for Etsy Listings
Your listing photos are the first thing a shopper sees in search results and on your product page. They need to be sharp enough to show print detail, framed consistently so shoppers can compare items, and sized in a way that loads quickly on both desktop and mobile. Etsy sets its own display and upload guidance, and that guidance can change over time, so the most reliable habit is to check the current requirements in Etsy’s seller help documentation before you build your template.
Think of your image size as a standard, not a one-off decision. Choose a master canvas for each product type, such as a square frame for mugs or a specific ratio for apparel, and keep it the same across your shop. When every main image uses the same framing, your store looks deliberate. When each listing uses a different crop, it looks improvised, even if the designs themselves are excellent.
💡 Create one labeled master canvas per product type and save it as a reusable template before you produce any mockups.
Publish your next batch.
Prepare your products and publish listings to Etsy in bulk. Start on the free plan.
The Manual Grind Noah Wanted to Escape
Before he found a better system, Noah followed a routine that many print-on-demand sellers will recognize. He would finish a design, open a mockup tool, export a main image, export a set of lifestyle shots, resize each one by hand for the platform, rename the files, and then copy the same description into the listing form. If he decided to change a crop or add a new color variant, he had to repeat the whole process. A small change to one image could mean touching dozens of listings.
This is where the time actually goes. The design itself may take a few minutes, but the repetitive handling of files, sizes, and listing fields can take much longer. Noah began to dread updates. He delayed improving old listings because he knew how tedious the work would be. Over time, his older listings drifted out of date, with weaker photos and inconsistent crops, while his newer ones looked better. Shoppers had no way of knowing that the difference was simply a lack of process.
The Hidden Trap: Fixing Images One Listing at a Time
The hidden trap is not the first listing. It is the fiftieth. Every manual step you repeat is a chance for an error: a file exported at the wrong size, a mockup that still shows an old design, or a main image that does not match the rest of the shop. Each fix also feels small, so it is easy to postpone. Meanwhile, the gap between your best listings and your average listings grows.
Another trap is trying to solve the problem with a patchwork of separate tools. One app creates mockups, another removes backgrounds, a third handles exports, and you copy files between them all day. Every handoff adds friction. If you want a dependable image size standard, you need the design, the mockup, and the listing details to live in the same workflow, so a single change can flow through without rebuilding everything.
⚠️ Before you rely on any size or format rule, confirm the current requirements in Etsy’s own seller documentation, since platform guidance can change.
How Listybox Helps You Build a Repeatable Image Workflow
Listybox is the one workspace where an Etsy seller runs the shop, from creating products through writing and publishing listings. For the image side of your workflow, several features fit this topic directly. My Artworks lets you upload your own designs in bulk and keep them in a central library, so your source files are organized in one place instead of scattered across folders. Background Remover can produce a transparent version of a design beside the original, which gives you a clean file to place on different product mockups.
Once your designs are organized, Creation Wizard helps you combine designs and products and see the resulting mockups in one place. Its Placement Editor lets you adjust how a design sits on a product, and you can apply a custom placement to other creations you select. That means you set the framing once and reuse it, rather than repositioning every file by hand. You stay in control at each step: you can drag, resize, or choose a preset, and you decide which creations receive the change.
For listing-level work, Bulk Edit lets you select many listings and change a chosen field, such as title, description, or tags, then review the changes before they go live. Scheduled Publish lets you line up a batch of listings and set a time interval, so new products go out gradually instead of all at once. Listybox does not decide what your shop should look like. It reduces the repetitive handling so you can spend your time on framing choices and quality checks.
Noah’s new routine looked like this. He first confirmed the current image guidance in Etsy’s help documentation and set his master canvases. He uploaded his designs to My Artworks and removed backgrounds where he needed transparent files. Then he used Creation Wizard and Placement Editor to build his mockups from those saved placements. Finally, he reviewed each main image himself, used Bulk Edit for any text updates across related listings, and scheduled the batch. His control over the final look did not change. What changed was that he stopped rebuilding the same work over and over.
Step-by-Step: Setting Up Your Etsy Image Size Standard
Start with a written list of every product type you sell. For each one, note the image framing you want for the main photo and for the supporting shots. Check Etsy’s current seller documentation for the upload size, format, and aspect ratio guidance, and write those requirements down next to your framing notes. Keep this list where you can find it, because you will return to it every time you add a product.
Next, create a master template for each product type. Set the canvas, the margins, and the position of the design. Save these as reusable starting points rather than redrawing them for each listing. Name your files in a consistent pattern that includes the product type, design name, and image role, such as main, detail, or lifestyle. Consistent names make bulk work and future updates much easier.
Then build a quality checklist you run before every batch goes live. Check that the main image is sharp, the design is fully visible, the crop matches your other listings, and the mockup reflects the current design. Look at each image at the size a shopper will actually see on a phone. If something looks off, fix the template rather than the single listing, so the correction carries forward.
Finally, review your process every few weeks. Note which steps still take the most time and which files cause the most rework. Adjust your templates and naming rules based on what you learn. Over time, your image workflow becomes a system you trust rather than a source of stress.
Real-World Scenario: Updating an Old Shop
Imagine a seller with two hundred older listings whose images were made at different times with different crops. Instead of rebuilding each photo, the seller first chooses one master framing per product type and saves it as a template. Then they bring the existing designs into a central library, create fresh mockups from the templates, and review them against the checklist. Where the title, description, or tags need updating for consistency, Bulk Edit applies the change across the selected group, and the seller checks a sample before publishing the batch on a schedule.
The result is an older shop that looks coherent. The seller still reviews every image and makes the final call on each one. They are not handing their judgment to a tool. They are simply avoiding a repeat of the same manual task.
Common Mistakes to Avoid
Many sellers make the same handful of errors with listing images. The first is ignoring platform guidance and relying on memory from an earlier year. Requirements change, so check the current documentation each time you set up a template. The second is mixing aspect ratios across one shop, which makes your storefront look scattered. The third is letting mockups fall out of date after you change a design, so shoppers see something different from what you actually sell.
Another frequent mistake is treating every listing as a fresh project. Sellers who rebuild from zero every time spend their energy on repetition instead of on better designs and clearer photos. A fourth error is publishing an entire catalog at once without a quality check. A batch approach, with a short review of each group, catches problems before they reach shoppers.
Keeping Your Image Quality High Over Time
Good image work is ongoing. As your shop grows, revisit your templates and remove the ones you no longer use. Retire outdated mockups rather than leaving them live. When you find a framing that works well for a product type, document it so you can repeat it. If you notice a particular product photo looks weaker than the rest, rebuild it from your master template rather than editing it ad hoc.
It also helps to think about how your images work together across the shop. A consistent main image style makes your store easy to browse. Supporting shots that show the product in use give shoppers more context. Detail shots of the print help them judge quality. Plan these roles in advance so you know which images you need for each new design.
Next Steps for Your Own Shop
Start small. Pick one product type, confirm the current Etsy image guidance, and build one master template. Run ten listings through your new process and review the results against your checklist. Once that feels reliable, expand to the rest of your catalog. Read more about related topics like Etsy SEO to make sure your titles and tags support your images, and see our guide on Etsy Product Photography: Free Mockups, Image Sizes & Background Removal for more ideas on preparing product photos.
Image quality is only one part of a successful print-on-demand shop. Pricing, fees, and shop policies also shape your results, so it is worth understanding them alongside your visual work. Our Etsy Shop Policies Guide for Print-on-Demand Sellers explains how to review your policies, and you can check how to calculate costs using the current fee information on Etsy’s own pages rather than relying on any single figure.
If you want to see how these steps look inside a single workspace, you can Start free - no credit card required and explore My Artworks, Creation Wizard, and Bulk Edit at your own pace. The free plan lets you test the workflow with your own designs, and you decide what goes live.
Etsy charges a $0.20 USD fee for listing an item for sale. Taxes may also apply.
Use this as your starting point. Check the current size guidance, build one template, and let a repeatable process replace the hours of manual resizing that slowed Noah down.
Listybox
Listybox keeps your Etsy shop work in one place. Create products, publish listings, edit them in bulk and pass print-on-demand orders to production.
Frequently asked questions
Put this into practice in your shop.
Every step from design to live listing, on one platform. Start on the free plan.
Related posts

Want to go deeper? Read our in-depth Etsy guides · Browse 100 Etsy niche guides