



Key takeaways
Confirm your account requirements, fees, and shop policies on the current Etsy pages before you spend money on products or tools.
Set up your shop name, branding, and policies first so every listing you publish matches the same identity.
Build a small, focused set of listings in one niche, then optimize titles, tags, and descriptions in order.
Use bulk editing and scheduled publishing to keep updates consistent instead of editing one listing at a time.
Review your shop regularly and change what the data and your own observations tell you to change.
Starting an Etsy shop sounds simple until you sit down to do it. You need a shop name, a niche, product designs, listing copy, tags, photos, policies, and a plan for shipping and returns, all at once. Many new sellers lose weeks jumping between tasks, rewriting the same description three times, and wondering whether they missed something important. This guide gives you a clear sequence to follow, so you can build a shop that is organized from the first listing.
Throughout the article you will see where a workspace like Listybox can take over the repetitive parts of the process. The goal is not to remove your judgment. You still choose the niche, approve every title, and decide what goes live.
Before You Open Anything: Check the Current Rules and Costs
Before you spend money on products, designs, or tools, check what Etsy currently requires and charges. Fees, listing rules, and seller requirements can change, so do not rely on a blog post from last year, including this one. Go to the official Etsy seller pages and read the current listing fees, transaction fees, and any tax information that applies to your location. Write down the numbers you find with the date you checked them, so you can refer back when your costs change.
Also check the shop policies you will need to publish. Etsy expects you to state your processing time, shipping details, and returns or refund terms, and the exact rules depend on the type of product you sell. Print-on-demand products may have different timelines than handmade goods, so read the current policy guidance carefully before you copy anyone else’s wording.
Once you know the rules, you can plan a realistic budget. List every cost you expect: listing fees, transaction fees, payment processing, product samples, design tools, and any subscription you plan to use. Compare these against your own expected selling volume rather than someone else’s promises. A budget built from current published fees is far more useful than a guess.
Another useful check is the Etsy seller requirements for your country. Some sellers need identity verification or a tax setup before they can receive payouts, and those steps can take time. Starting this early means your shop is not waiting on paperwork when your listings are ready. If you want a deeper walkthrough of the requirements, read our guide on Etsy Seller Requirements 2026: What You Really Need to Start a Shop.
Try it in your shop.
Every step from design to live listing, on one platform. Start on the free plan.
Step 1: Choose a Focused Niche and Validate It
A new shop works best when it sells to a clear audience. Instead of listing a little of everything, pick one niche and build a small set of products around it. A focused niche makes your design choices, keywords, and photos easier to get right, and it gives buyers a reason to remember your shop.
To validate a niche, look at what buyers are already searching for on Etsy. Search for your product ideas, read the top listings, and notice which styles, phrases, and product types appear again and again. Pay attention to listings that have many reviews, since they show what buyers are actually purchasing. You are not copying competitors. You are learning the language your buyers already use.
Be careful about drawing big conclusions from a few searches. A niche that looks promising may have strong competition, and a small niche may be underserved for a good reason. Test with a handful of listings, watch how they perform over several weeks, and adjust. For more ideas on practical niches, see our piece on Etsy Shop Ideas for 2026: Print-on-Demand Niches Worth Testing and How to Validate One.
💡 Write your niche in one sentence, such as “minimalist plant-lover t-shirts for gardeners.” If you cannot describe it that clearly, your product range is probably too broad.
Step 2: Set Up Your Shop Identity and Policies
Your shop name, banner, icon, and About section tell buyers what to expect. Keep the name short, easy to spell, and related to your niche. Create a simple banner that matches your product style, and write an About section that explains who you are and what you sell. Avoid stuffing keywords into the shop name, since it should still read naturally to a buyer.
Next, publish your policies. Write clear shipping, processing time, and return or refund sections that match your fulfillment setup. If you use print-on-demand, your processing time may depend on your production partner, so state that honestly rather than promising a timeline you cannot control. Buyers who understand your policies are less likely to open disputes, and clear policies also protect your shop when something goes wrong.
Use the same brand details across your shop, your listings, and your packaging inserts. Consistency builds trust, and it is much easier to maintain when you have a single place to manage it. If you want a checklist for this stage, read Etsy Shop Optimization in 2026: A Shop-Level Checklist for Name, Banner, About and Policies.
Step 3: Create Product Designs and Mockups
Your first products should be a small, deliberate set rather than dozens of random items. Start with three to five designs that fit your niche, then create the product variations each design needs, such as colors, sizes, and product types. Keep track of which design goes on which product so you do not publish mismatched listings.
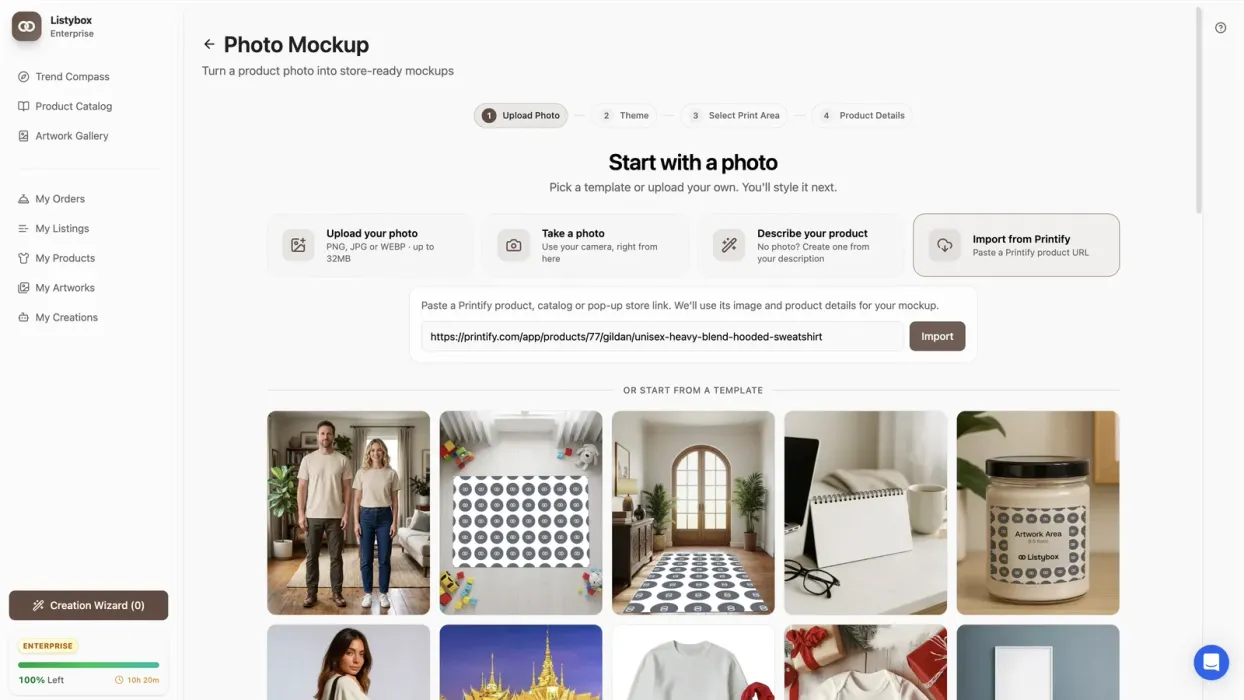
Manually building every mockup is slow. Each product needs placement adjustments, color variants, and images that show the design clearly. Many new sellers spend more time resizing artwork than thinking about their niche. This is where a workflow tool helps. In Listybox, you can upload designs to My Artworks, pick products in Creation Wizard, and review the results before anything goes live. The Placement Editor lets you drag, resize, or apply a saved placement across several creations, and you can change any placement that does not look right.
Listybox also offers Background Remover, which removes the background from a design in My Artworks and saves a transparent version next to the original. That can save you a step if your artwork was not created with a transparent background. You still review every result, and you decide which version to use.
For lifestyle images, the Listystyle feature can generate lifestyle photos from your product and design. Treat these as drafts. Check that the product looks accurate, that the scene fits your niche, and that the image does not mislead buyers about what they will receive.
Step 4: Write Listings That Buyers and Search Can Understand
Each listing needs a clear title, a useful description, a set of tags, and attributes that describe the product accurately. Start with the title. Put the most important search phrase near the front, then add details such as style, product type, and audience, while keeping it readable. Do not repeat the same phrase many times, because that reads as spam to buyers and to search systems.
Tags are your next opportunity. Etsy allows a limited number of tags, so choose ones that describe what the product is, who it is for, and what occasion it suits. Avoid tags that do not match the item, since they can hurt your shop’s credibility. Your description should answer the questions a buyer has before purchasing: what the product is, what it is made of or printed on, how it fits, how it is shipped, and how it is produced.
If you want to go deeper on wording and search behavior, read our Etsy Listing SEO Optimization: Your Step-by-Step Guide to Visibility and Sales. For tag-specific guidance, see How to Optimize Etsy Tags Using Real Search and SEO Data.
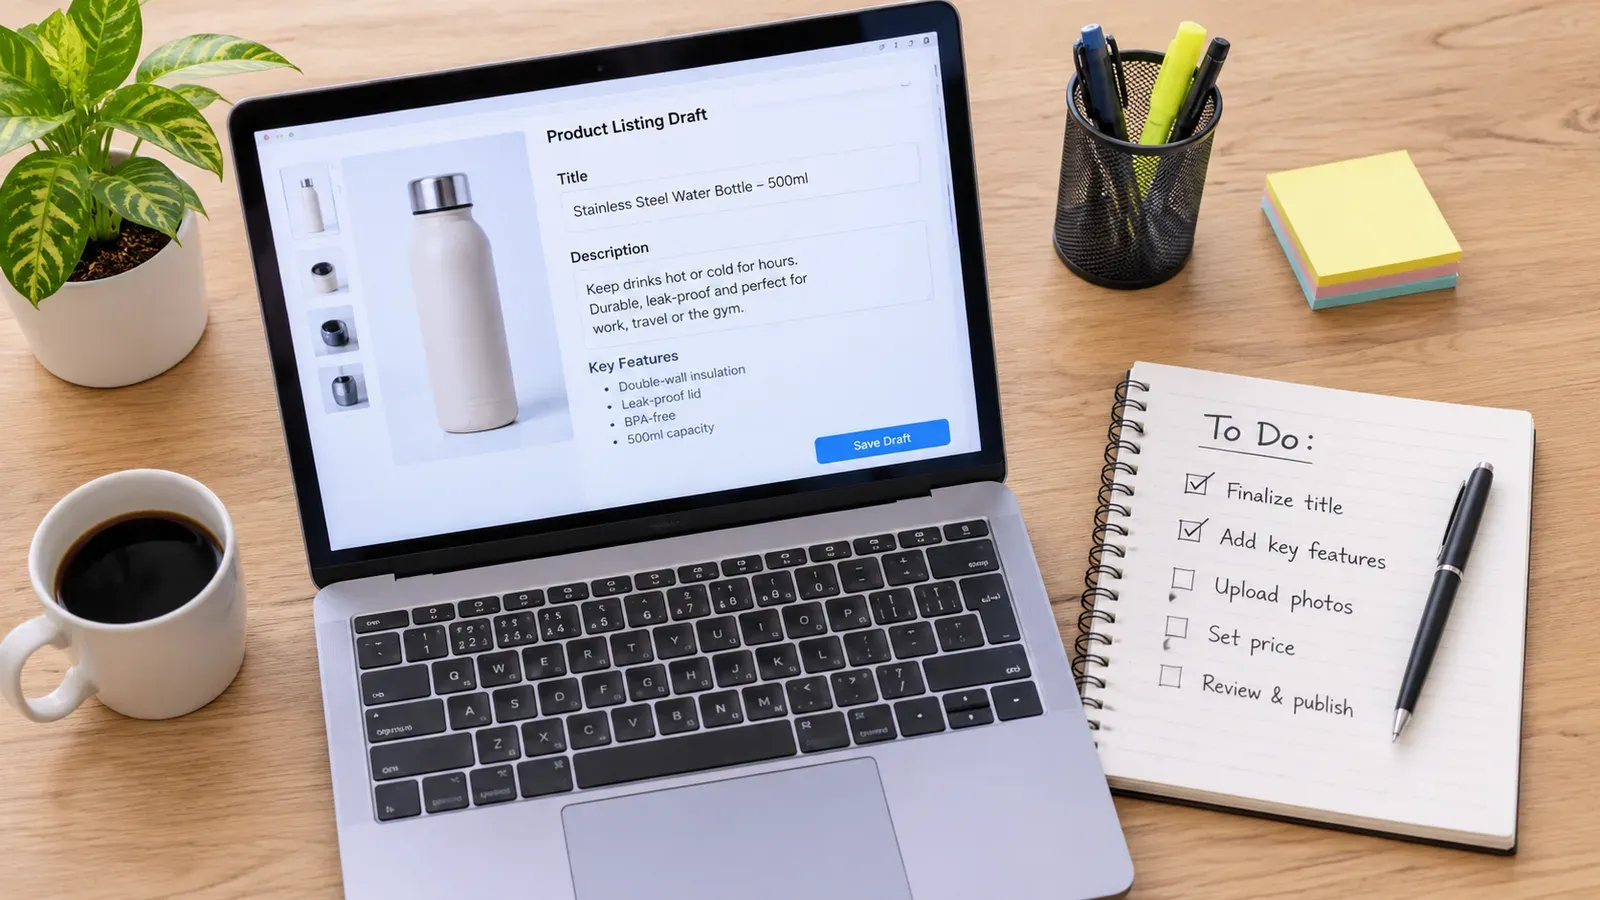
Writing every title and description from scratch takes time, and the risk is that your copy becomes repetitive. Magic Wand in Listybox can draft SEO-focused titles, tags, and descriptions for each creation. You then read the draft, change anything that does not sound like you, correct any claim you cannot back up, and approve the final version. Editing and control stay with you at every step.
⚠️ Never publish a tag, title, or description that describes features your product does not have. Buyers who feel misled leave reviews and open disputes, which can hurt your shop long after the listing is fixed.
Step 5: Publish in Batches, Not All at Once
Publishing your entire catalog on day one can make it hard to check each listing carefully. A better approach is to publish a small batch, review how it looks in search and on mobile, and then add more. Staggered publishing also gives you a clean record of which listings went live when, which is useful when you analyze performance later.
Scheduled Publish in Listybox lets you set a time interval, such as one listing every few hours or one per day, after you have built a batch. The system then publishes the listings according to your schedule. You still choose which listings go into the schedule and can adjust the plan before it runs. This keeps your shop active without requiring you to click publish dozens of times.
Before you publish, check every listing once more. Confirm the product type, the variations, the prices you have set, and the shipping profile. Fix any mistakes in the draft rather than correcting them after the listing is live, since changes to live listings can be more disruptive.
Step 6: Optimize Using Bulk Edits and Regular Reviews
Once your shop has listings, optimization becomes a regular habit. You will want to update titles, tags, or descriptions across many listings at once, especially when you notice a pattern in what buyers search for. Editing listings one at a time is slow and easy to get wrong.
Bulk Edit in Listybox lets you select several listings, choose the field you want to change, and apply an add, replace, or remove action across all of them. For example, you might add a seasonal phrase to a group of listings, or remove a tag that no longer fits. Before you apply the change, review the list of selected listings to confirm you have chosen the right ones. After the change, spot-check a few listings to confirm the update looks correct.
Regular reviews matter more than one big overhaul. Each week, look at which listings get views, which get favorites, and which get sales. Look at your shop’s messages and reviews for questions that a better description could answer. Make small, deliberate changes, and give each change time before you judge it. Etsy’s own analytics pages and your order history are the sources to check for this kind of review, and they show your own numbers rather than general claims.
For a fuller approach to reading your shop data, read Etsy Analytics Explained: How to Read Your Shop Stats and Make Data-Driven Decisions That Actually Grow Sales.
Common Mistakes to Avoid in a New Shop
New sellers often make the same handful of mistakes. The first is opening with too many products, which spreads attention thin and makes the shop look unfocused. The second is writing vague titles and tags that do not match the product. The third is ignoring policies until a buyer asks a question, when clear policies could have prevented the issue.
Another common mistake is treating optimization as a one-time task. Your niche, your competitors, and buyer language all change over time, so your listings need periodic attention. A fourth mistake is skipping the cost check. Sellers who never recorded their fees often discover later that their margins are thinner than they expected.
Finally, avoid copying competitor listings word for word. Buyers notice repeated copy, and it does not help your visibility. Use competitor listings to understand the vocabulary of your niche, then write in your own voice.
💡 Keep a simple spreadsheet with each listing’s publish date, title, tags, and any change you made. This record makes it much easier to tell which edits helped and which did not.
Putting the Process Together
Here is the full sequence in one place. Check the current Etsy rules and costs first. Choose a focused niche and validate it with real search and listing research. Set up your shop name, banner, About section, and policies. Create a small set of designs and mockups. Write titles, tags, and descriptions that match what each product actually is. Publish in batches, using a schedule if it helps. Then optimize in regular, deliberate passes using bulk changes and steady review.
Each step builds on the one before. If you rush the setup, you will spend more time fixing listings later. If you skip the review, you will not know what is working. Treat the process as a cycle rather than a checklist you finish once.
A workspace like Listybox fits into this cycle by handling the repetitive production work: building creations, drafting listing copy, scheduling publishes, and applying bulk changes. You keep the decisions that matter, including your niche, your wording, your pricing, and your final review. Many sellers find it useful to take the process in stages, using a tool for the parts that repeat and reviewing everything that is customer-facing.
Where to Go From Here
If you are just starting, begin with the rules and costs check, then pick your niche. Once you have three to five designs ready, build a small batch of listings and publish them on a schedule. After that, spend your time on regular review rather than trying to optimize everything at once.
If you want a broader view of how a print-on-demand shop fits into your income plans, read our guide on How to Make Money Online: The Realistic 2026 Guide for Etsy Sellers. It covers the realistic path and what it takes to keep a shop running.
Ready to try the workflow yourself? You can explore how Listybox handles creation, listing copy, and scheduled publishing. Start free - no credit card required
Does all of this feel overwhelming? You don’t have to start from scratch. With Listybox Store Setup, our team helps you set up your Etsy store. It is available inside a custom Enterprise+ offer, so plan a demo or write to support@listybox.com.
Listybox
Listybox keeps your Etsy shop work in one place. Create products, publish listings, edit them in bulk and pass print-on-demand orders to production.
Frequently asked questions
Put this into practice in your shop.
Every step from design to live listing, on one platform. Start on the free plan.
Related posts


Want to go deeper? Read our in-depth Etsy guides · Browse 100 Etsy niche guides